JSUI高级用法
1 逻辑控制
JSUI框架从设计上运用了MVVM模式,借助于ViewModel,很方便地实现了从业务数据和视图展现的动态绑定。JS文件中的数据变化可以实时反映到HML文件中的界面元素上。在动态绑定的基础上,再辅以灵活的逻辑控制,开发人员可以为基于JSUI框架的应用程序,赋予非常复杂的动态业务能力。
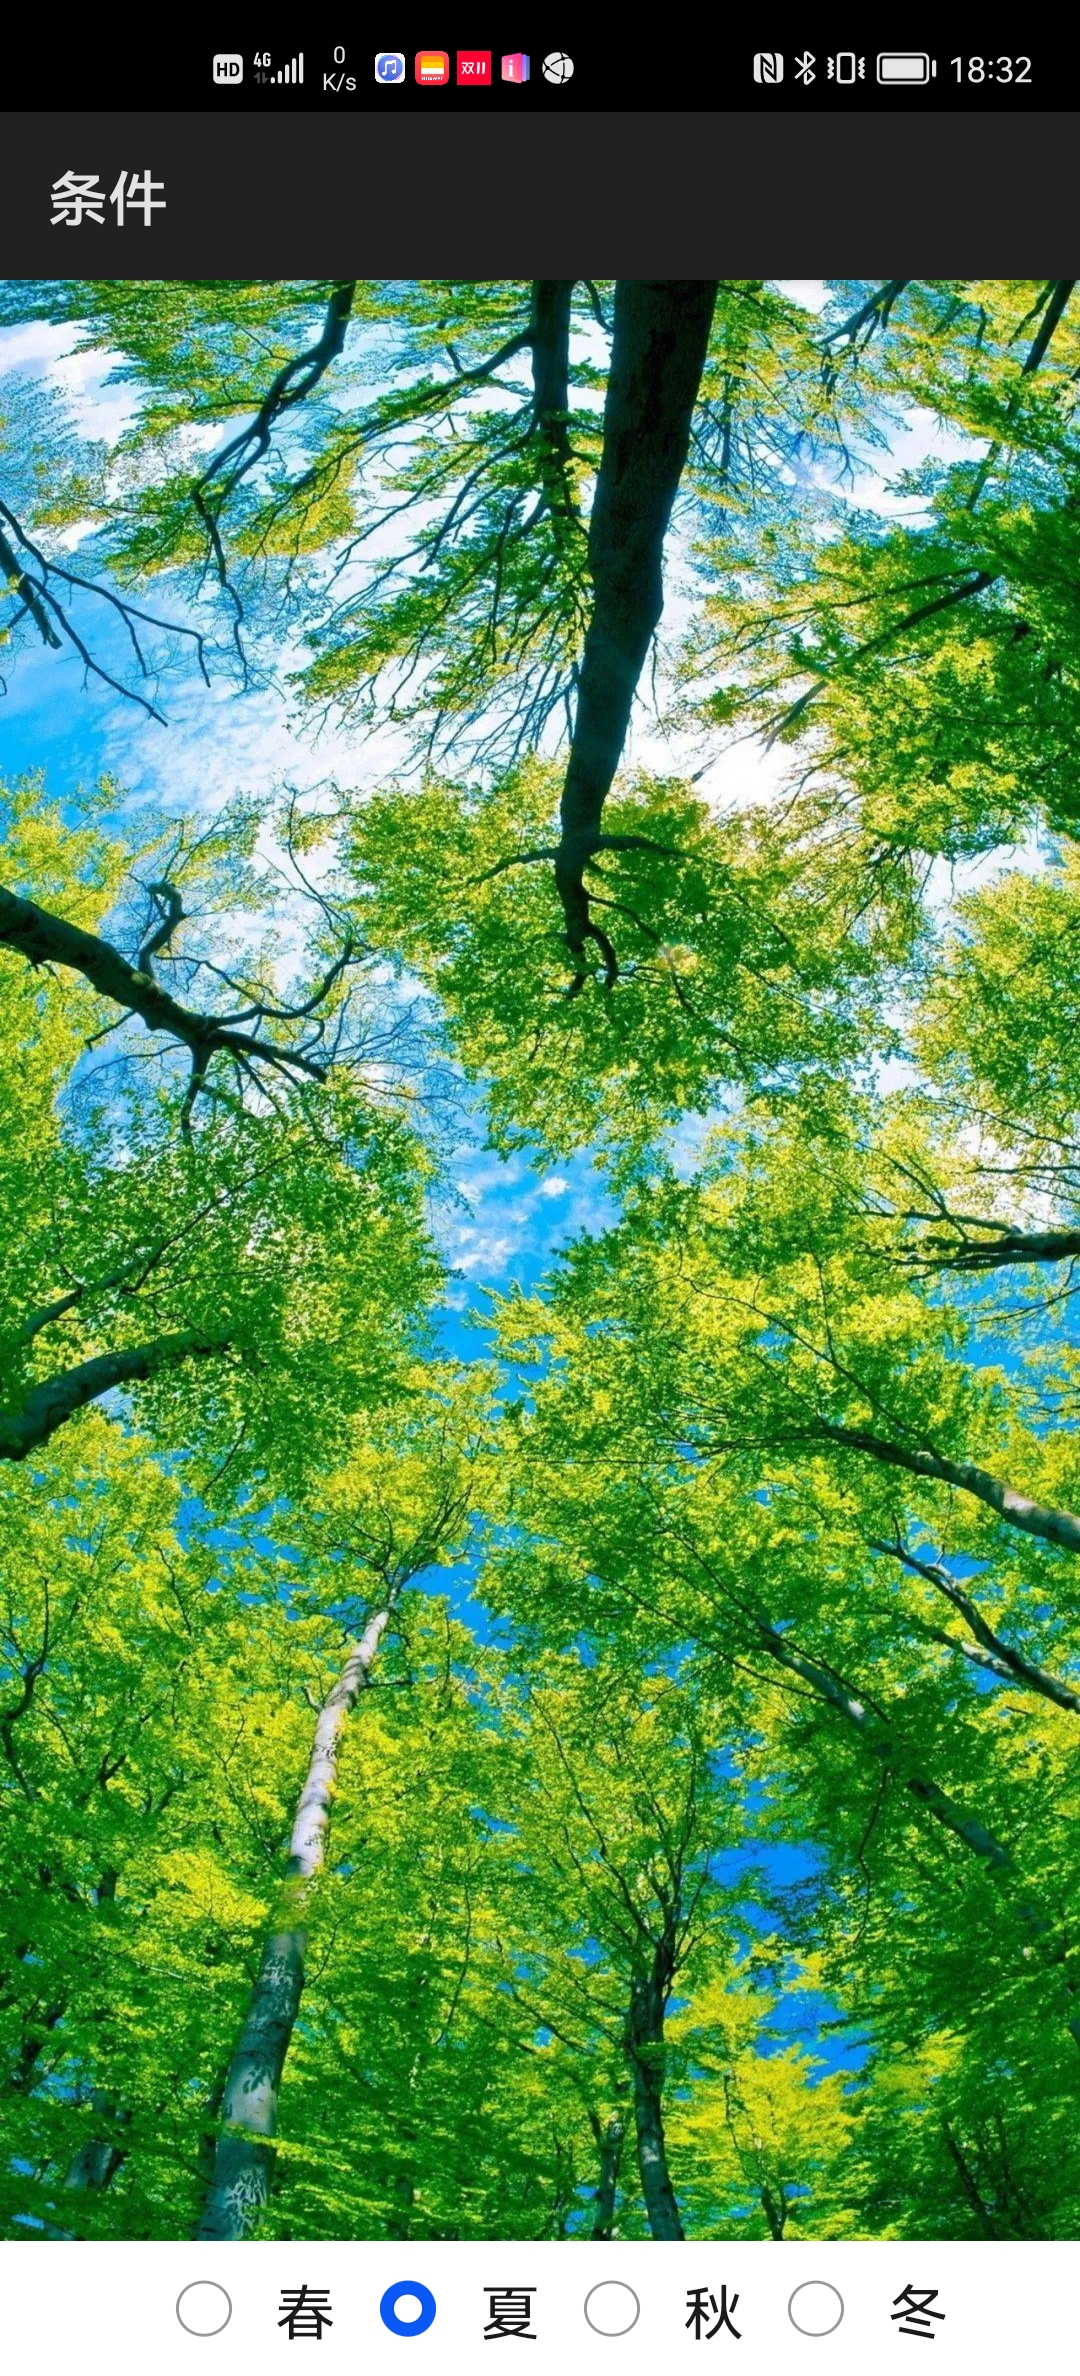
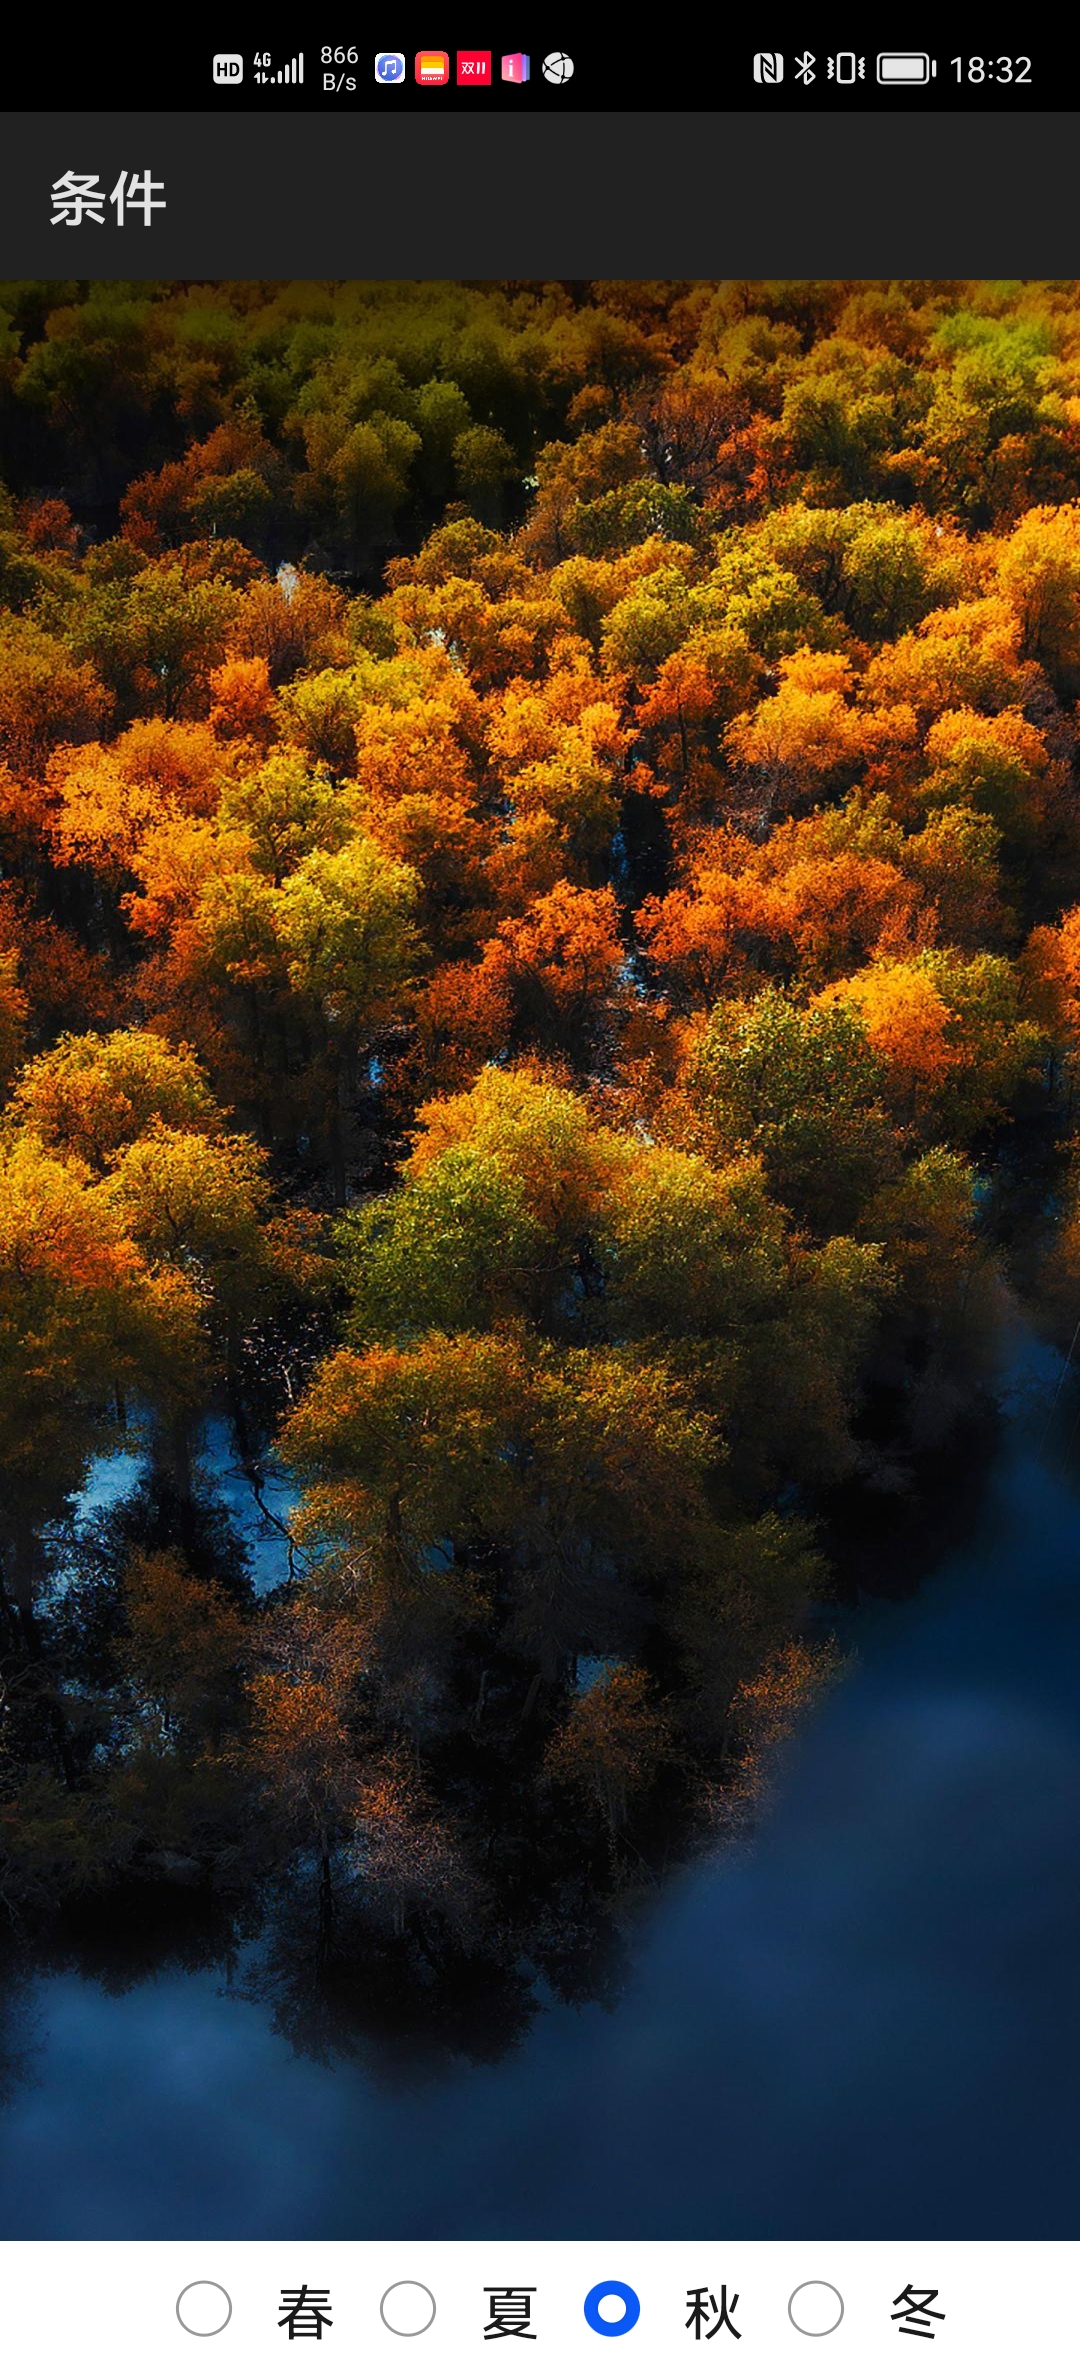
1.1 条件属性(if)
通过if属性可以控制组件是否存在:
<image ... if="{{spring}}" />
<image ... elif="{{summer}}" />
<image ... elif="{{autumn}}" />
<image ... else />
例程:Condition
...\Condition\entry\src\main\js\default\common\images\spring.png

...\Condition\entry\src\main\js\default\common\images\summer.png

...\Condition\entry\src\main\js\default\common\images\autumn.png

...\Condition\entry\src\main\js\default\common\images\winter.png

...\Condition\entry\src\main\js\default\pages\index\index.hml
<div class="divColumn">
    <image class="img" src="/common/images/spring.png" if="{{spring}}" />
    <image class="img" src="/common/images/summer.png" elif="{{summer}}" />
    <image class="img" src="/common/images/autumn.png" elif="{{autumn}}" />
    <image class="img" src="/common/images/winter.png" else />

    <div class="divRow">
        <input type="radio" name="seasons" id="spring" value="1"
               @change="onChange" checked="true" />
        <label class="lab" target="spring">春</label>

        <input type="radio" name="seasons" id="summer" value="2"
               @change="onChange" />
        <label class="lab" target="summer">夏</label>

        <input type="radio" name="seasons" id="autumn" value="3"
               @change="onChange" />
        <label class="lab" target="autumn">秋</label>

        <input type="radio" name="seasons" id="winter" value="4"
               @change="onChange" />
        <label class="lab" target="winter">冬</label>
    </div>
</div>
...\Condition\entry\src\main\js\default\pages\index\index.css
.divColumn {
    height: 100%;
    flex-direction: column;
}

.img {
    height: 100%;
    object-fit: fill;
}

.divRow {
    flex-direction: row;
    justify-content: center;
}

.lab {
    font-size: 20px;
}
...\Condition\entry\src\main\js\default\pages\index\index.js
export default {
    data: {
        spring: true,
        summer: false,
        autumn: false,
        winter: false
    },
    onChange(e) {
        this.spring = e.value == 1;
        this.summer = e.value == 2;
        this.autumn = e.value == 3;
        this.winter = e.value == 4;
    }
}
运行效果如下图所示:


注意,与if属性不同,show属性所影响的仅仅是组件是否可见,不可见并不等于不存在。
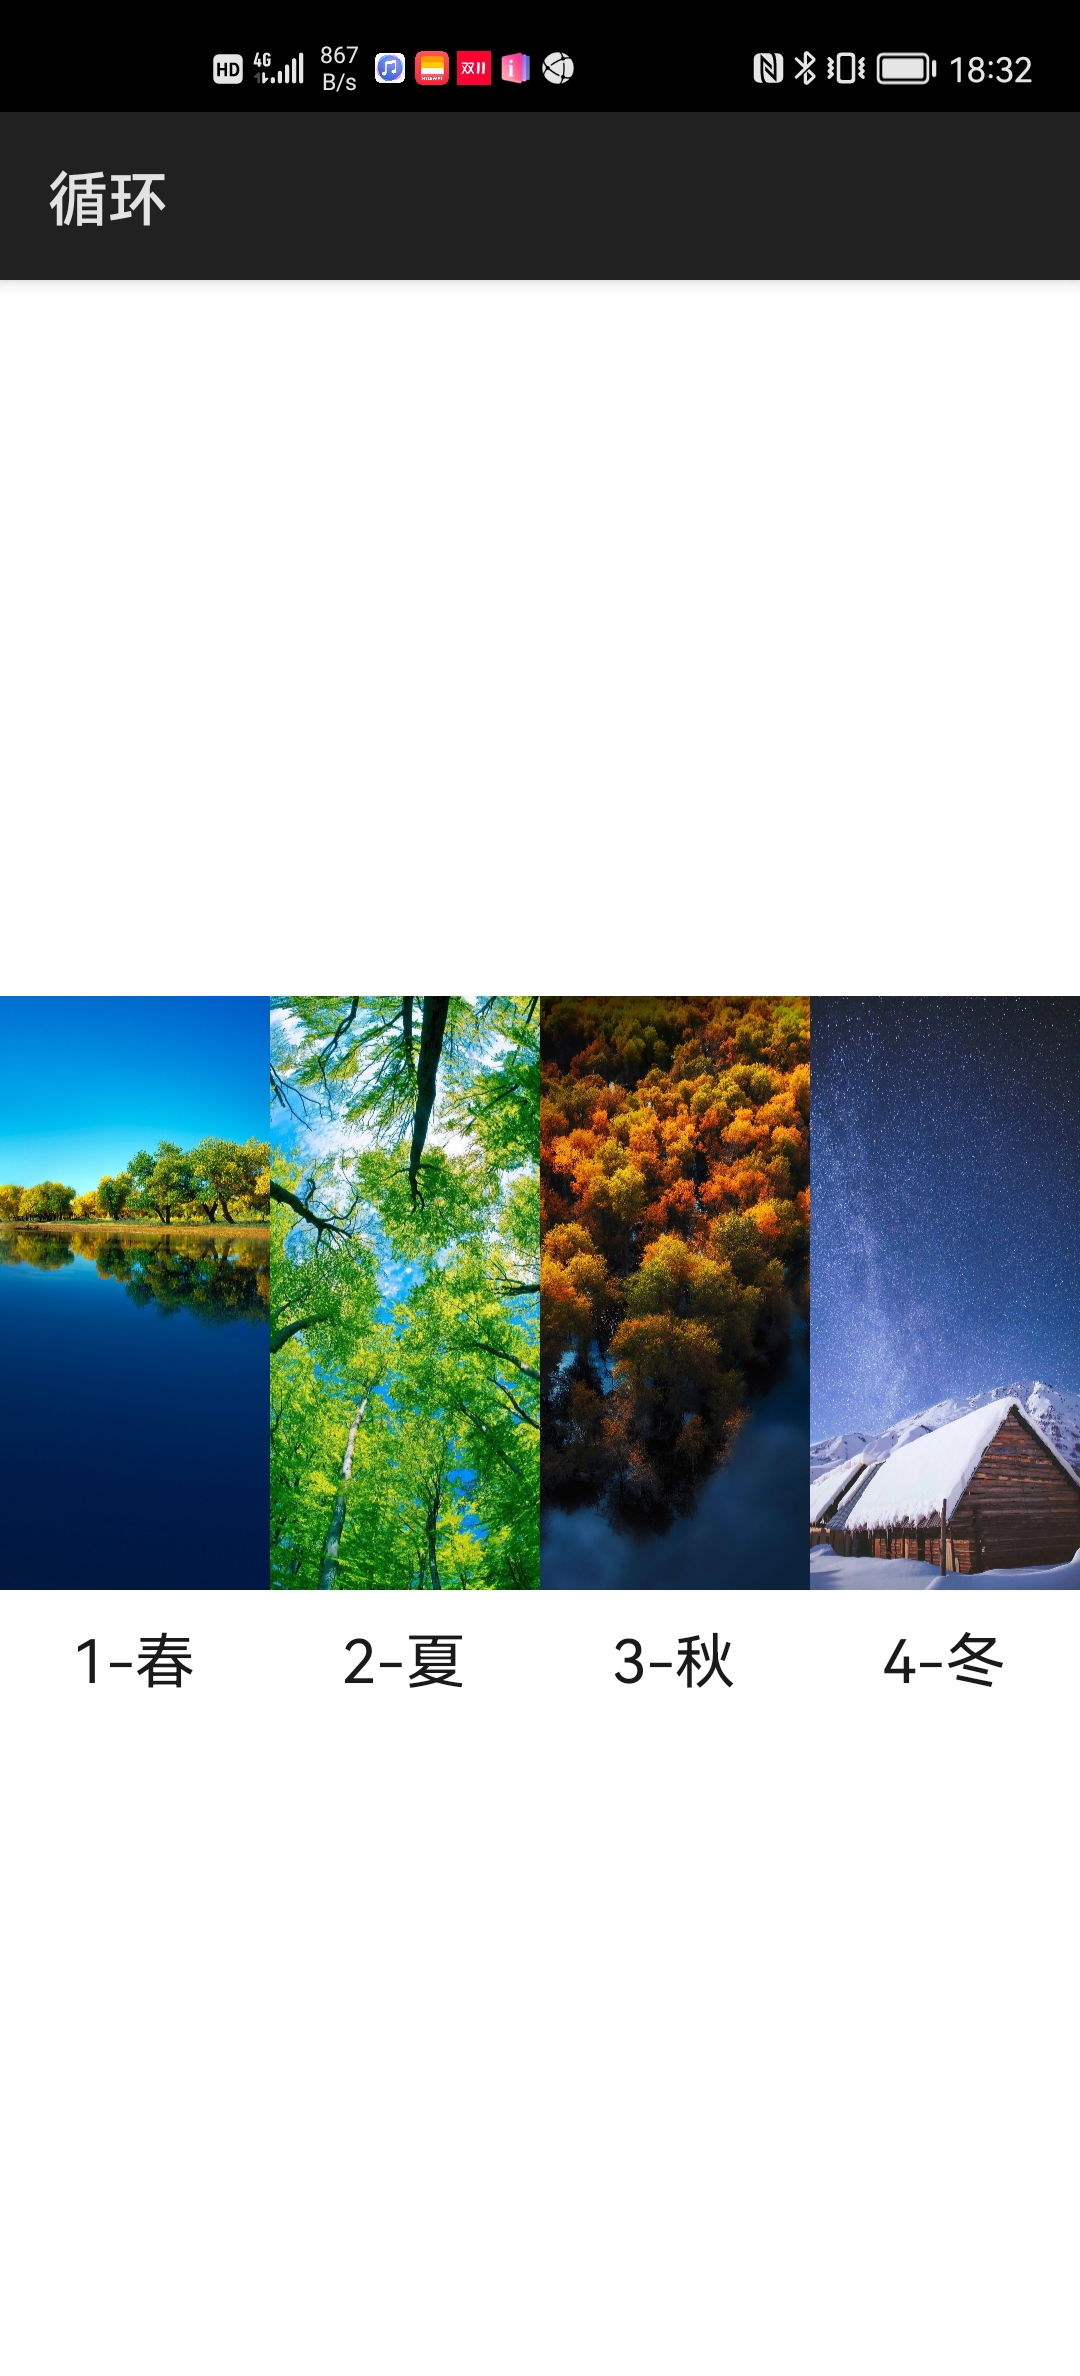
1.2 循环属性(for)
通过for属性可以在遍历数组元素的同时创建组件,并在组件中引用该元素的值:
<div ... for="{{images}}">
    <image ... src="{{$item.src}}" />
    <text ...>{{$idx+1}}-{{$item.lab}}</text>
</div>
通过in关键字可以自定义数组元素的名称:
<div ... for="{{(index, image) in images}}">
    <image ... src="{{image.src}}" />
    <text ...>{{index+1}}-{{image.lab}}</text>
</div>
for属性和if属性中的“{{}}”可以省略:
<div ... for="(index, image) in images">
    <image ... src="{{image.src}}" />
    <text ...>{{index+1}}-{{image.lab}}</text>
</div>
例程:Loop
...\Loop\entry\src\main\js\default\common\images\spring.png
...\Loop\entry\src\main\js\default\common\images\summer.png
...\Loop\entry\src\main\js\default\common\images\autumn.png
...\Loop\entry\src\main\js\default\common\images\winter.png
...\Loop\entry\src\main\js\default\pages\index\index.hml
<div class="divRow">
    <div class="divColumn" for="(index, image) in images">
        <image class="img" src="{{image.src}}" />
        <text class="txt">{{index+1}}-{{image.lab}}</text>
    </div>
</div>
...\Loop\entry\src\main\js\default\pages\index\index.css
.divRow {
    flex-direction: row;
    align-items: center;
}

.divColumn {
    height: 240px;
    flex-direction: column;
    align-items: center;
}

.img {
    object-fit: scale-down;
}

.txt {
    font-size: 20px;
}
...\Loop\entry\src\main\js\default\pages\index\index.js
export default {
    data: {
        images: [
            {src: "/common/images/spring.png", lab: "春"},
            {src: "/common/images/summer.png", lab: "夏"},
            {src: "/common/images/autumn.png", lab: "秋"},
            {src: "/common/images/winter.png", lab: "冬"}
        ]
    }
}
运行效果如下图所示:
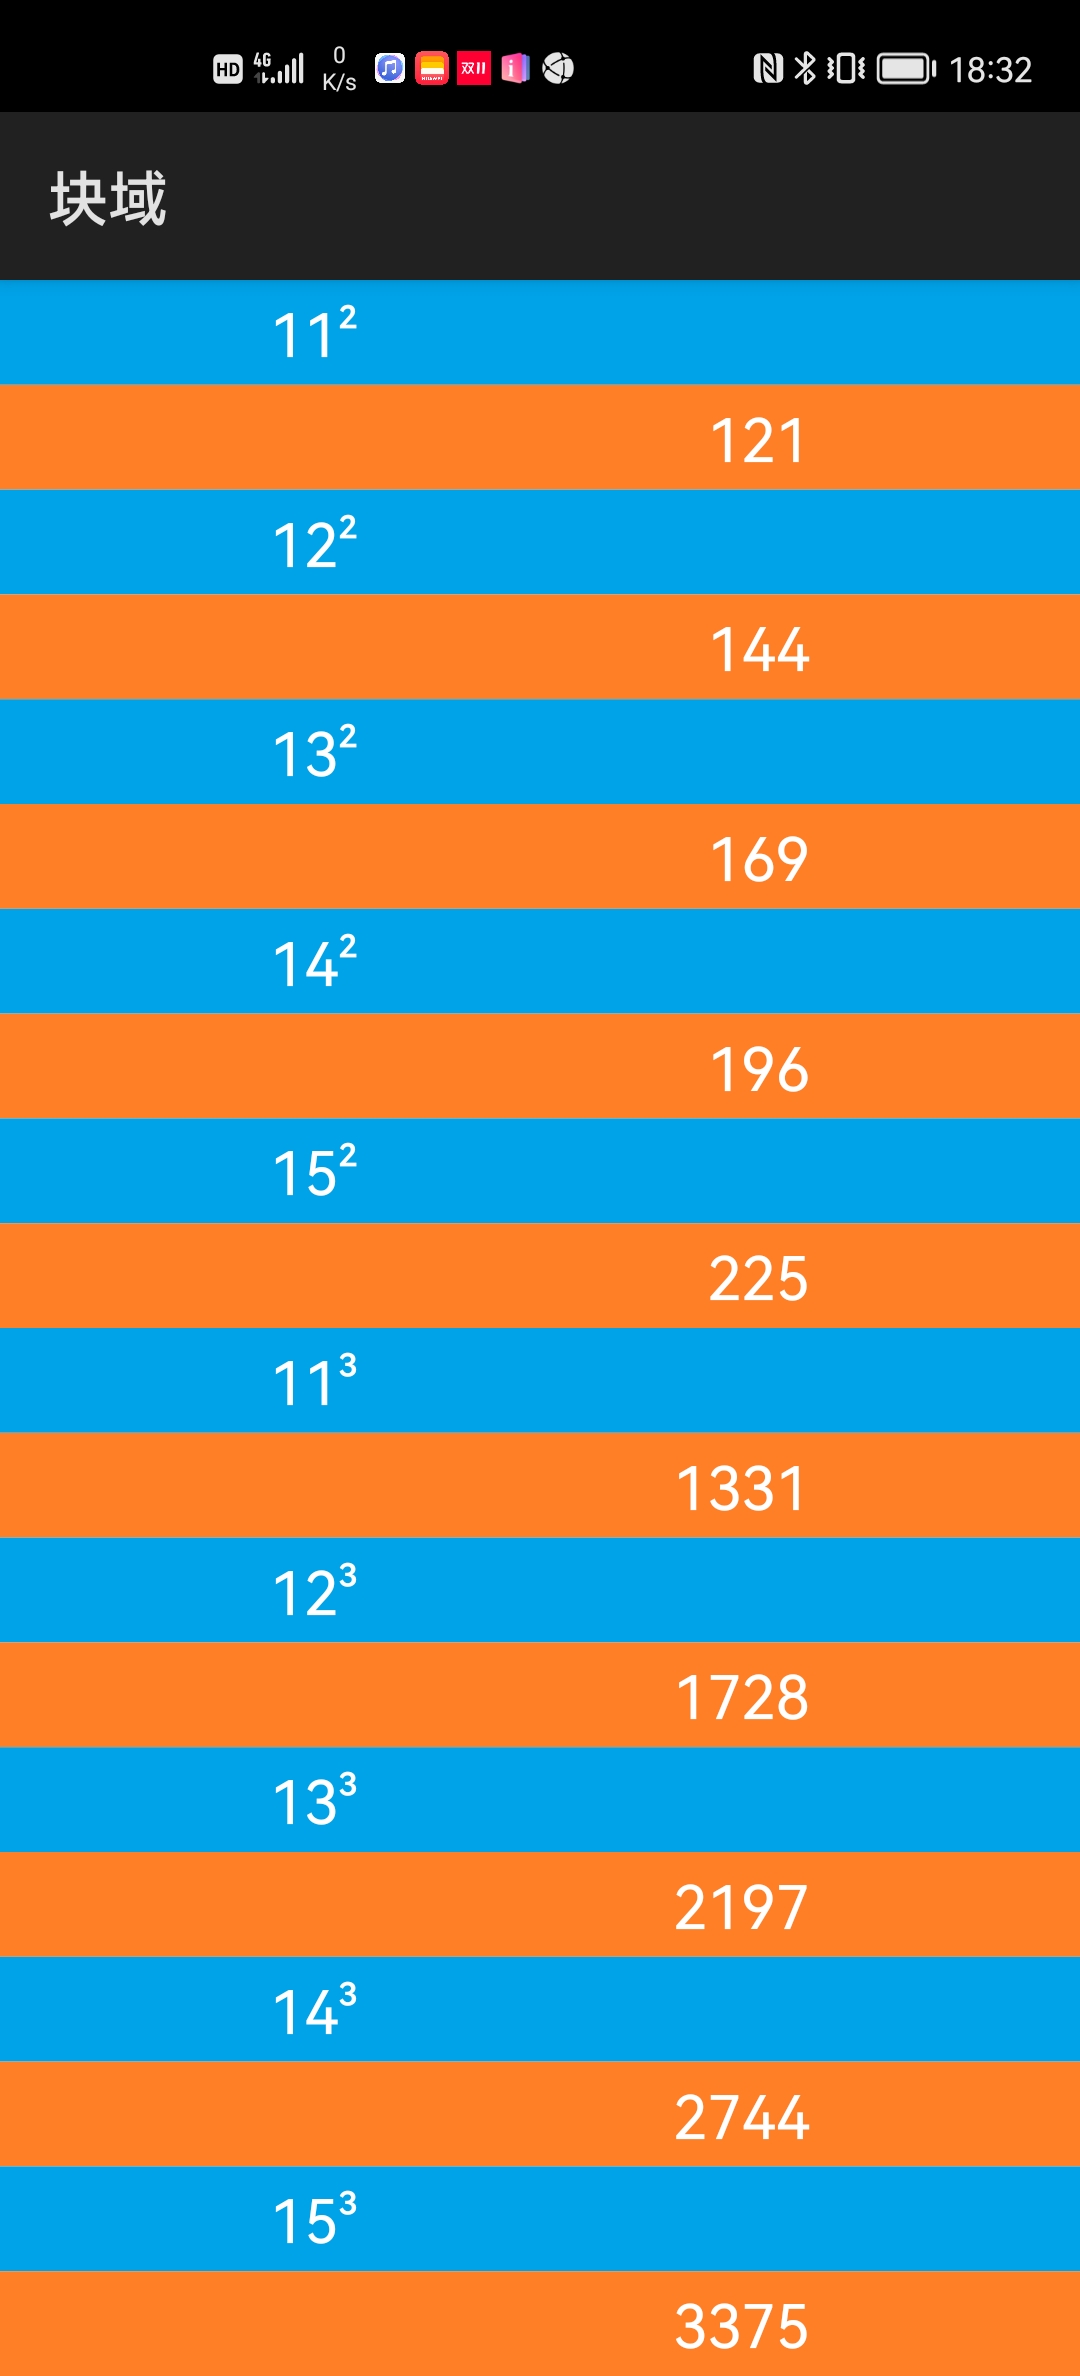
1.3 块域组件(block)
如果被if或for控制的组件不只一个,且它们又不被某个容器所包含,则可以把它们放到一个block组件中。block组件相当于一个逻辑容器。
<block if="{{...}}">
    <text ...>...</text>
    ...
</block>
<block for="{{...}}">
    <text ...>...</text>
    ...
</block>
例程:Block
...\Block\entry\src\main\js\default\pages\index\index.hml
<div class="div">
    <block for="{{square}}">
        <text class="txtExpress">{{$item.x}}²</text>
        <text class="txtResult">{{$item.y}}</text>
    </block>

    <block for="{{cube}}">
        <text class="txtExpress">{{$item.x}}³</text>
        <text class="txtResult">{{$item.y}}</text>
    </block>
</div>
...\Block\entry\src\main\js\default\pages\index\index.css
.div {
    flex-direction: column;
    justify-content: center;
    align-items: center;
}

.txtExpress {
    width: 100%;
    height: 5%;
    padding-left: 25%;
    text-align: left;
    font-size: 20px;
    background-color: #00a2e8;
    color: #ffffff;
}

.txtResult {
    width: 100%;
    height: 5%;
    padding-right: 25%;
    text-align: right;
    font-size: 20px;
    background-color: #ff7f27;
    color: #ffffff;
}
...\Block\entry\src\main\js\default\pages\index\index.js
export default {
    data: {
        square: [],
        cube: []
    },
    onInit() {
        for (let i = 11; i <= 15; i++) {
            this.square.push({x: i, y: i * i});
            this.cube.push({x: i, y: i * i * i});
        }
    }
}
运行效果如下图所示:
2 代码资源
不仅图像、音频、视频这样的多媒体文件,可以作为应用程序的资源,以独立文件的形式放在common目录下,象HML、CSS甚至JS这样的代码文件,也可以作为应用程序的资源,以独立文件的形式放在common目录下,并通过特定的方法,被其它代码文件引用。
例如所有关于学生信息的页面结构(.hml)、页面外观(.css)和页面行为(.js)文件,均以可复用资源的形式,被保存在common/student目录下:
.../common/student/student.hml:
<block>
    ...
</block>
.../common/student/student.css
.txtName {
    ...
}

.txtAge {
    ...
}

.txtSex {
    ...
}

.txtSubject {
    ...
}
.../common/student/student.js:
export default {
    ...
}
在index.hml中引用student.hml中的组件:
<element name="student" src="../../common/student/student.hml"></element>
...
<student ...></student>
...
在index.css中引用student.css中的样式:
@import "../../common/student/student.css";
...
在index.js中引用student.js中的代码:
import student from "../../common/student/student.js";
...
例程:Resource
...\Resource\entry\src\main\js\default\common\student\student.hml
<block>
    <text class="{{name_class}}">姓名:{{name}}</text>
    <text class="{{age_class}}">年龄:{{age}}</text>
    <text class="{{sex_class}}">性别:{{sex}}</text>
    <text class="{{subject_class}}">课程:{{subject}}</text>
</block>
...\Resource\entry\src\main\js\default\common\student\student.css
.txtName {
    width: 140px;
    padding: 10px;
    text-align: left;
    font-size: 24px;
    background-color: #00a2e8;
    color: #ffffff;
}

.txtAge {
    width: 140px;
    padding: 10px;
    text-align: left;
    font-size: 24px;
    background-color: #22b14c;
    color: #ffffff;
}

.txtSex {
    width: 140px;
    padding: 10px;
    text-align: left;
    font-size: 24px;
    background-color: #ff7f27;
    color: #ffffff;
}

.txtSubject {
    width: 140px;
    padding: 10px;
    text-align: left;
    font-size: 24px;
    background-color: #ee1c24;
    color: #ffffff;
}
...\Resource\entry\src\main\js\default\common\student\student.js
export default {
    getStudent() {
        return {name: "张飞", age: 22, sex: "男", subject: "C++"};
    }
}
...\Resource\entry\src\main\js\default\pages\index\index.hml
<element name="student" src="../../common/student/student.hml"></element>

<div class="div">
    <student name_class="txtName"
             name="{{student.name}}"
             age_class="txtAge"
             age="{{student.age}}"
             sex_class="txtSex"
             sex="{{student.sex}}"
             subject_class="txtSubject"
             subject="{{student.subject}}">
    </student>
</div>
...\Resource\entry\src\main\js\default\pages\index\index.css
@import "../../common/student/student.css";

.div {
    flex-direction: column;
    justify-content: center;
    align-items: center;
}
...\Resource\entry\src\main\js\default\pages\index\index.js
import student from "../../common/student/student.js";

export default {
    data: {
        student: null
    },
    onInit() {
        this.student = student.getStudent();
    }
}
运行效果如下图所示:

3 设备适配
鸿蒙操作系统是全场景操作系统,其目标设备数量众多,品类各异。为了使应用在不同形状、大小和密度的屏幕上,都能呈现出相对一致且便于操作的用户界面,经常需要根据目标设备的屏幕密度适配不同的图片,或根据目标设备的屏幕参数适配不同的界面样式。
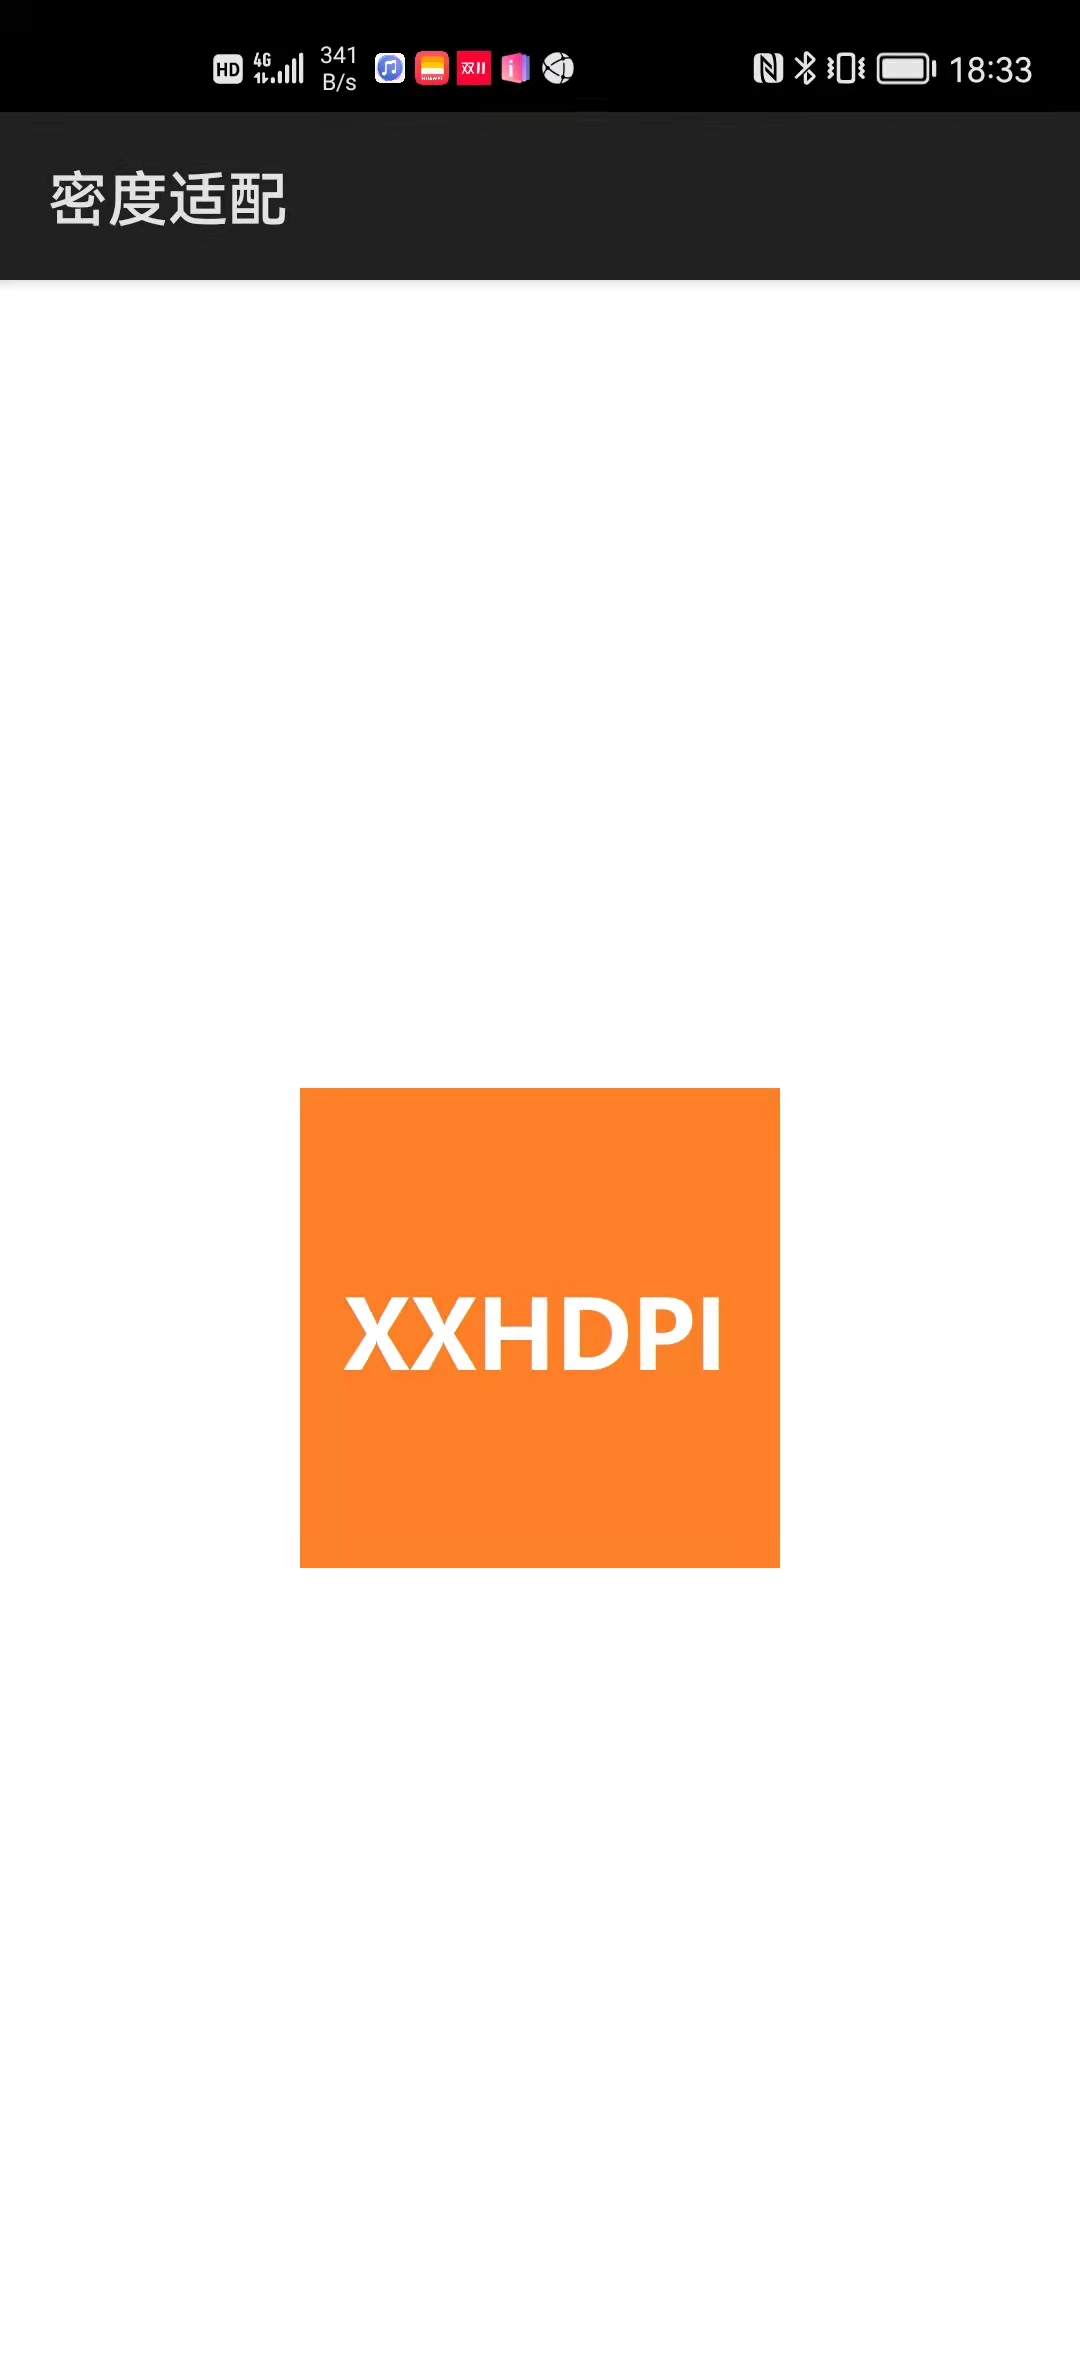
3.1 密度适配
DPI或PPI(每英寸像素数)是用来表示屏幕密度的单位。屏幕密度越高,即每英寸上的像素越多,显示效果越好,图像画面越细腻,但显示相同像素数图片的尺寸也越小,因此需要适配。
通常将屏幕分为六个密度等级:
- 低密度(LDPI)
- 中密度(MDPI)
- 高密度(HDPI)
- 超高密度(XHDPI)
- 超超高密度(XXHDPI)
- 超超超高密度(XXXHDPI)
它们的密度分布如下图所示:
 _______________________________________________
| LDPI | MDPI | HDPI | XHDPI | XXHDPI | XXXHDPI |
|______|______|______|_______|________|_________|
0     120    160    240     320      480       640
在JSUI框架下根据屏幕密度适配图片的步骤如下:
1.为不同的屏幕密度等级准备不同分辨率的图片,屏幕密度等级越高,图片的分辨率也就越高,并将这些图片放到common目录下;
2.为不同的屏幕密度等级创建对应的资源文件,这些文件都为JSON格式,名字形如res-defautls.json、res-xhdpi.json、res-xxhdpi.json等。
系统会根据屏幕密度等级自动选择匹配的资源文件,若没有对应的资源文件,或在对应的资源文件中没有找到指定的资源,则在缺省资源文件res-defautls.json中查找,若还没有找到,则在屏幕密度尽可能接近的资源文件中查找。
例如:
.../common/images/image/logo-xhdpi.png
.../common/images/image/logo-xxhdpi.png
.../common/images/image/logo-xxxhdpi.png
.../resources/res-defaults.json:
{
    "images": {
        "logo": "common/images/logo-xhdpi.png"
    }
}
.../resources/res-xxhdpi.json:
{
    "images": {
        "logo": "common/images/logo-xxhdpi.png"
    }
}
.../resources/res-xxxhdpi.json:
{
    "images": {
        "logo": "common/images/logo-xxxhdpi.png"
    }
}
代码中通过资源名"logo"引用该图片:
<image ... src="{{$r('images.logo')}}" ... />
例程:Dpi
...\Dpi\entry\src\main\js\default\common\images\logo-ldpi.png
...\Dpi\entry\src\main\js\default\common\images\logo-mdpi.png
...\Dpi\entry\src\main\js\default\common\images\logo-hdpi.png
...\Dpi\entry\src\main\js\default\common\images\logo-xhdpi.png
...\Dpi\entry\src\main\js\default\common\images\logo-xxhdpi.png
...\Dpi\entry\src\main\js\default\common\images\logo-xxxhdpi.png
...\Dpi\entry\src\main\js\default\resources\res-ldpi.json
{
  "images": {
    "logo": "common/images/logo-ldpi.png"
  }
}
...\Dpi\entry\src\main\js\default\resources\res-mdpi.json
{
  "images": {
    "logo": "common/images/logo-mdpi.png"
  }
}
...\Dpi\entry\src\main\js\default\resources\res-hdpi.json
{
  "images": {
    "logo": "common/images/logo-hdpi.png"
  }
}
...\Dpi\entry\src\main\js\default\resources\res-xhdpi.json
{
  "images": {
    "logo": "common/images/logo-xhdpi.png"
  }
}
...\Dpi\entry\src\main\js\default\resources\res-xxhdpi.json
{
  "images": {
    "logo": "common/images/logo-xxhdpi.png"
  }
}
...\Dpi\entry\src\main\js\default\resources\res-xxxhdpi.json
{
  "images": {
    "logo": "common/images/logo-xxxhdpi.png"
  }
}
...\Dpi\entry\src\main\js\default\resources\res-defaults.json
{
  "images": {
    "logo": "common/images/logo-xhdpi.png"
  }
}
...\Dpi\entry\src\main\js\default\pages\index\index.hml
<div class="div">
    <image class="img" src="{{$r('images.logo')}}" />
</div>
...\Dpi\entry\src\main\js\default\pages\index\index.css
.div {
    flex-direction: column;
    justify-content: center;
    align-items: center;
}

.img {
    width: 100%;
    height: 100%;
    object-fit: none;
}
运行效果如下图所示:
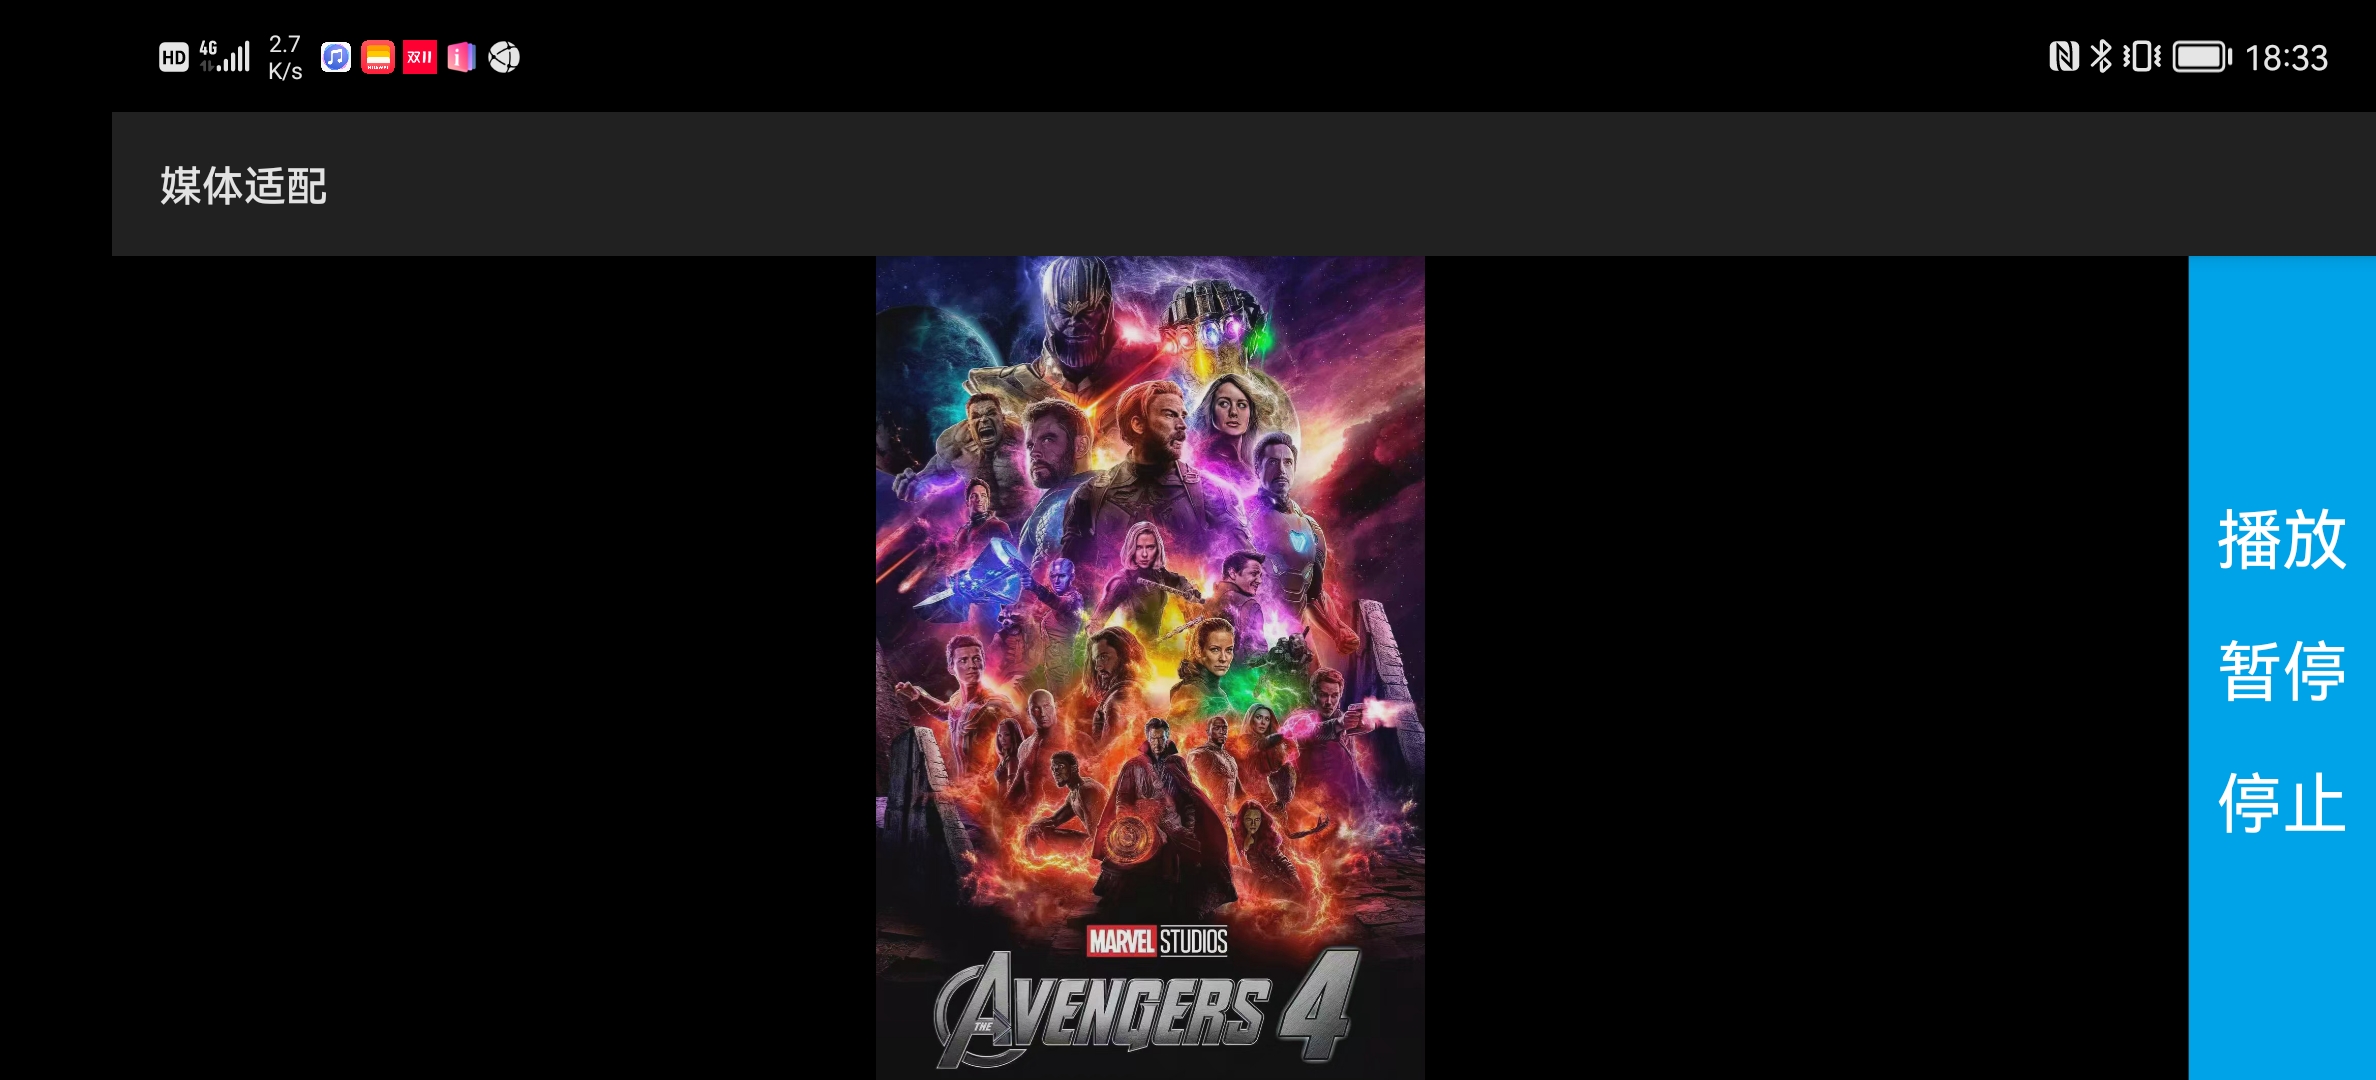
3.2 媒体适配
所谓媒体适配,就是在CSS文件里通过“@media”语句,根据目标设备的类型和屏幕参数,有针对性地定义页面样式,如:
@media(device-type: phone) {
    ... // 手机设备,使用这些样式
}
@media screen and (round-screen: true) {
    ... // 圆形屏幕,使用这些样式
}
@media(width <= 600) {
    ... // 页宽不超过600像素,使用这些样式
}
@media(max-width: 600) {
    ... // 页宽不超过600像素,使用这些样式
}
@media screen and (orientation: landscape) and (width > 500) {
    ... // 横屏且页宽超过500像素,使用这些样式
}
常用的media参数如下所示,可将多个参数通过and/or/not组合成复杂逻辑:
| @media | 描述 |
|---|---|
| device-type | 设备类型 |
| device-width | 设备宽度 |
| min-device-width | 设备最小宽度 |
| max-device-width | 设备最大宽度 |
| device-height | 设备高度 |
| min-device-height | 设备最小高度 |
| max-device-height | 设备最大高度 |
| resolution | 设备分辨率 |
| min-resolution | 设备最小分辨率 |
| max-resolution | 设备最大分辨率 |
| round-screen | 圆形屏幕(true/false) |
| orientation | 屏幕方向(portrait(竖屏)/landscape(横屏)) |
| width | 页面宽度 |
| min-width | 页面最小宽度 |
| max-width | 页面最大宽度 |
| height | 页面高度 |
| min-height | 页面最小高度 |
| max-height | 页面最大高度 |
| aspect-ratio | 页面宽高比 |
| min-aspect-ratio | 页面最小宽高比 |
| max-aspect-ratio | 页面最大宽高比 |
例程:Media
...\Media\entry\src\main\js\default\common\images\avengers4.png

...\Media\entry\src\main\js\default\pages\index\index.hml
<div class="divPage">
    <image class="img" src="/common/images/avengers4.png" />

    <div class="divControl">
        <text class="txt">播放</text>
        <text class="txt">暂停</text>
        <text class="txt">停止</text>
    </div>
</div>
...\Media\entry\src\main\js\default\pages\index\index.css
.divPage {
    width: 100%;
    height: 100%;
    justify-content: flex-end;
    align-items: center;
}

.img {
    object-fit: contain;
    background-color: #000000;
}

.divControl {
    justify-content: center;
    background-color: #00a2e8;
}

.txt {
    text-align: center;
    font-size: 22px;
    color: #ffffff;
}

@media screen and (device-type: phone) and (orientation: portrait) {
    .divPage {
        flex-direction: column;
    }

    .divControl {
        flex-direction: row;
    }

    .txt {
        width: 80px;
        height: 40px;
    }
}

@media screen and (device-type: phone) and (orientation: landscape) {
    .divPage {
        flex-direction: row;
    }

    .divControl {
        flex-direction: column;
    }

    .txt {
        width: 68px;
        height: 44px;
    }
}
运行效果如下图所示:

4 模块
模块是一套JavaScript工具集,提供了各种各样的高级功能。例如:
| 模块 | 描述 |
|---|---|
| app | 获取应用的名称、版本等信息 |
| configuration | 获取当前的语言、地区等配置信息 |
| package | 通过包名获取包信息 |
| notification | 显示通知消息 |
| shortcut | 创建页面的快捷方式 |
| device | 获取设备的品牌、型号等信息 |
| mediaquery | 通过设备类型、屏幕尺寸等查询匹配设备 |
| battery | 获取电量信息 |
| brightness | 控制亮度 |
| geolocation | 获取地理位置 |
| sensor | 获取传感器信息 |
| vibrator | 产生振动 |
| router | 在不同页面之间跳转 |
| prompt | 弹出提示对话框 |
| network | 获取当前网络状态 |
| request | 上传、下载数据 |
| fetch | 访问HTTP服务器 |
| storage | 以键值对方式存储数据 |
| file | 读写文件 |
使用模块时需要注意:
1.某些模块需要特定的权限,需要在config.json中注明申请;
2.使用模块前需要先导入:
import <模块名> from "@system.<模块名>";
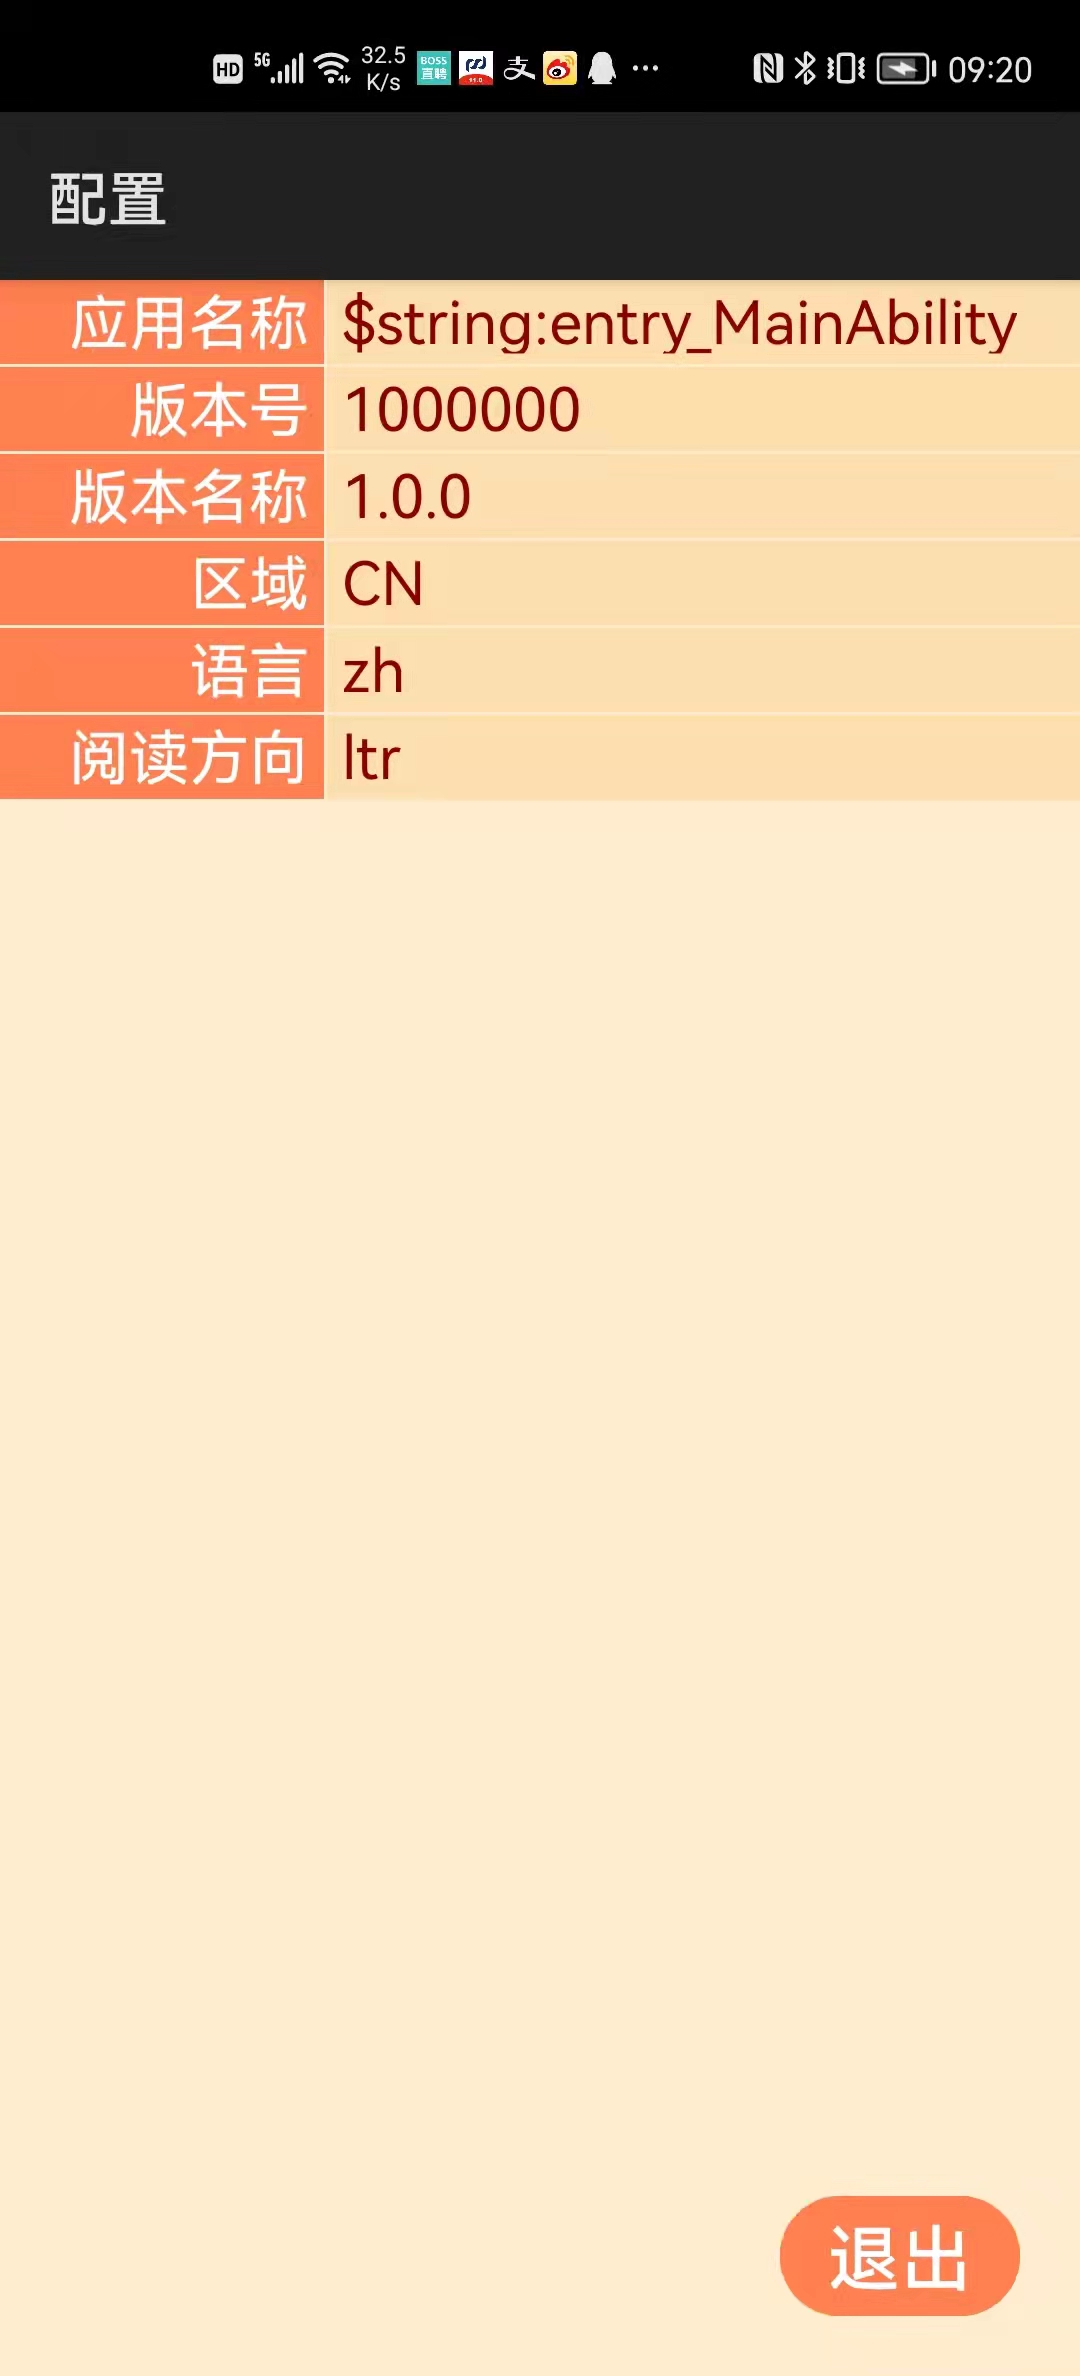
4.1 app和configuration模块
import app from '@system.app';
app.getInfo().appName     - 应用名称
app.getInfo().versionCode - 版本号
app.getInfo().versionName - 版本名称
app.terminate()           - 退出应用
import configuration from '@system.configuration';
configuration.getLocale().countryOrRegion - 区域
configuration.getLocale().language        - 语言
configuration.getLocale().dir             - 阅读方向
例程:Config
...\Config\entry\src\main\js\default\pages\index\index.hml
<stack class="stc">
    <list class="lst">
        <list-item for="entry in entries">
            <div class="div">
                <text class="txtLabel">{{entry.label}}</text>
                <text class="txtValue">{{entry.value}}</text>
            </div>
        </list-item>
    </list>

    <input class="btn" type="button" value="退出" @click="onClick"/>
</stack>
...\Config\entry\src\main\js\default\pages\index\index.css
.stc {
    width: 100%;
    height: 100%;
    justify-content: flex-end;
    align-items: flex-end;
}

.lst {
    background-color: blanchedalmond;
}

.div {
    flex-direction: row;
}

.txtLabel {
    width: 30%;
    padding-right: 5px;
    padding-bottom: 2px;
    margin-bottom: 1px;
    text-align: right;
    font-size: 20px;
    background-color: coral;
    color: white;
}

.txtValue {
    width: 70%;
    padding-left: 5px;
    padding-bottom: 2px;
    margin-left: 1px;
    margin-bottom: 1px;
    font-size: 20px;
    background-color: navajowhite;
    color: darkred;
}

.btn {
    margin-right: 20px;
    margin-bottom: 20px;
    font-size: 24px;
    background-color: coral;
    color: white;
}
...\Config\entry\src\main\js\default\pages\index\index.js
import app from '@system.app';
import configuration from '@system.configuration';

export default {
    data: {
        entries: []
    },
    onInit() {
        this.entries.push({
            label: "应用名称",
            value: app.getInfo().appName});
        this.entries.push({
            label: "版本号",
            value: app.getInfo().versionCode});
        this.entries.push({
            label: "版本名称",
            value: app.getInfo().versionName});
        this.entries.push({
            label: "区域",
            value: configuration.getLocale().countryOrRegion});
        this.entries.push({
            label: "语言",
            value: configuration.getLocale().language});
        this.entries.push({
            label: "阅读方向",
            value: configuration.getLocale().dir});
    },
    onClick() {
        app.terminate();
    }
}
运行效果如下图所示:
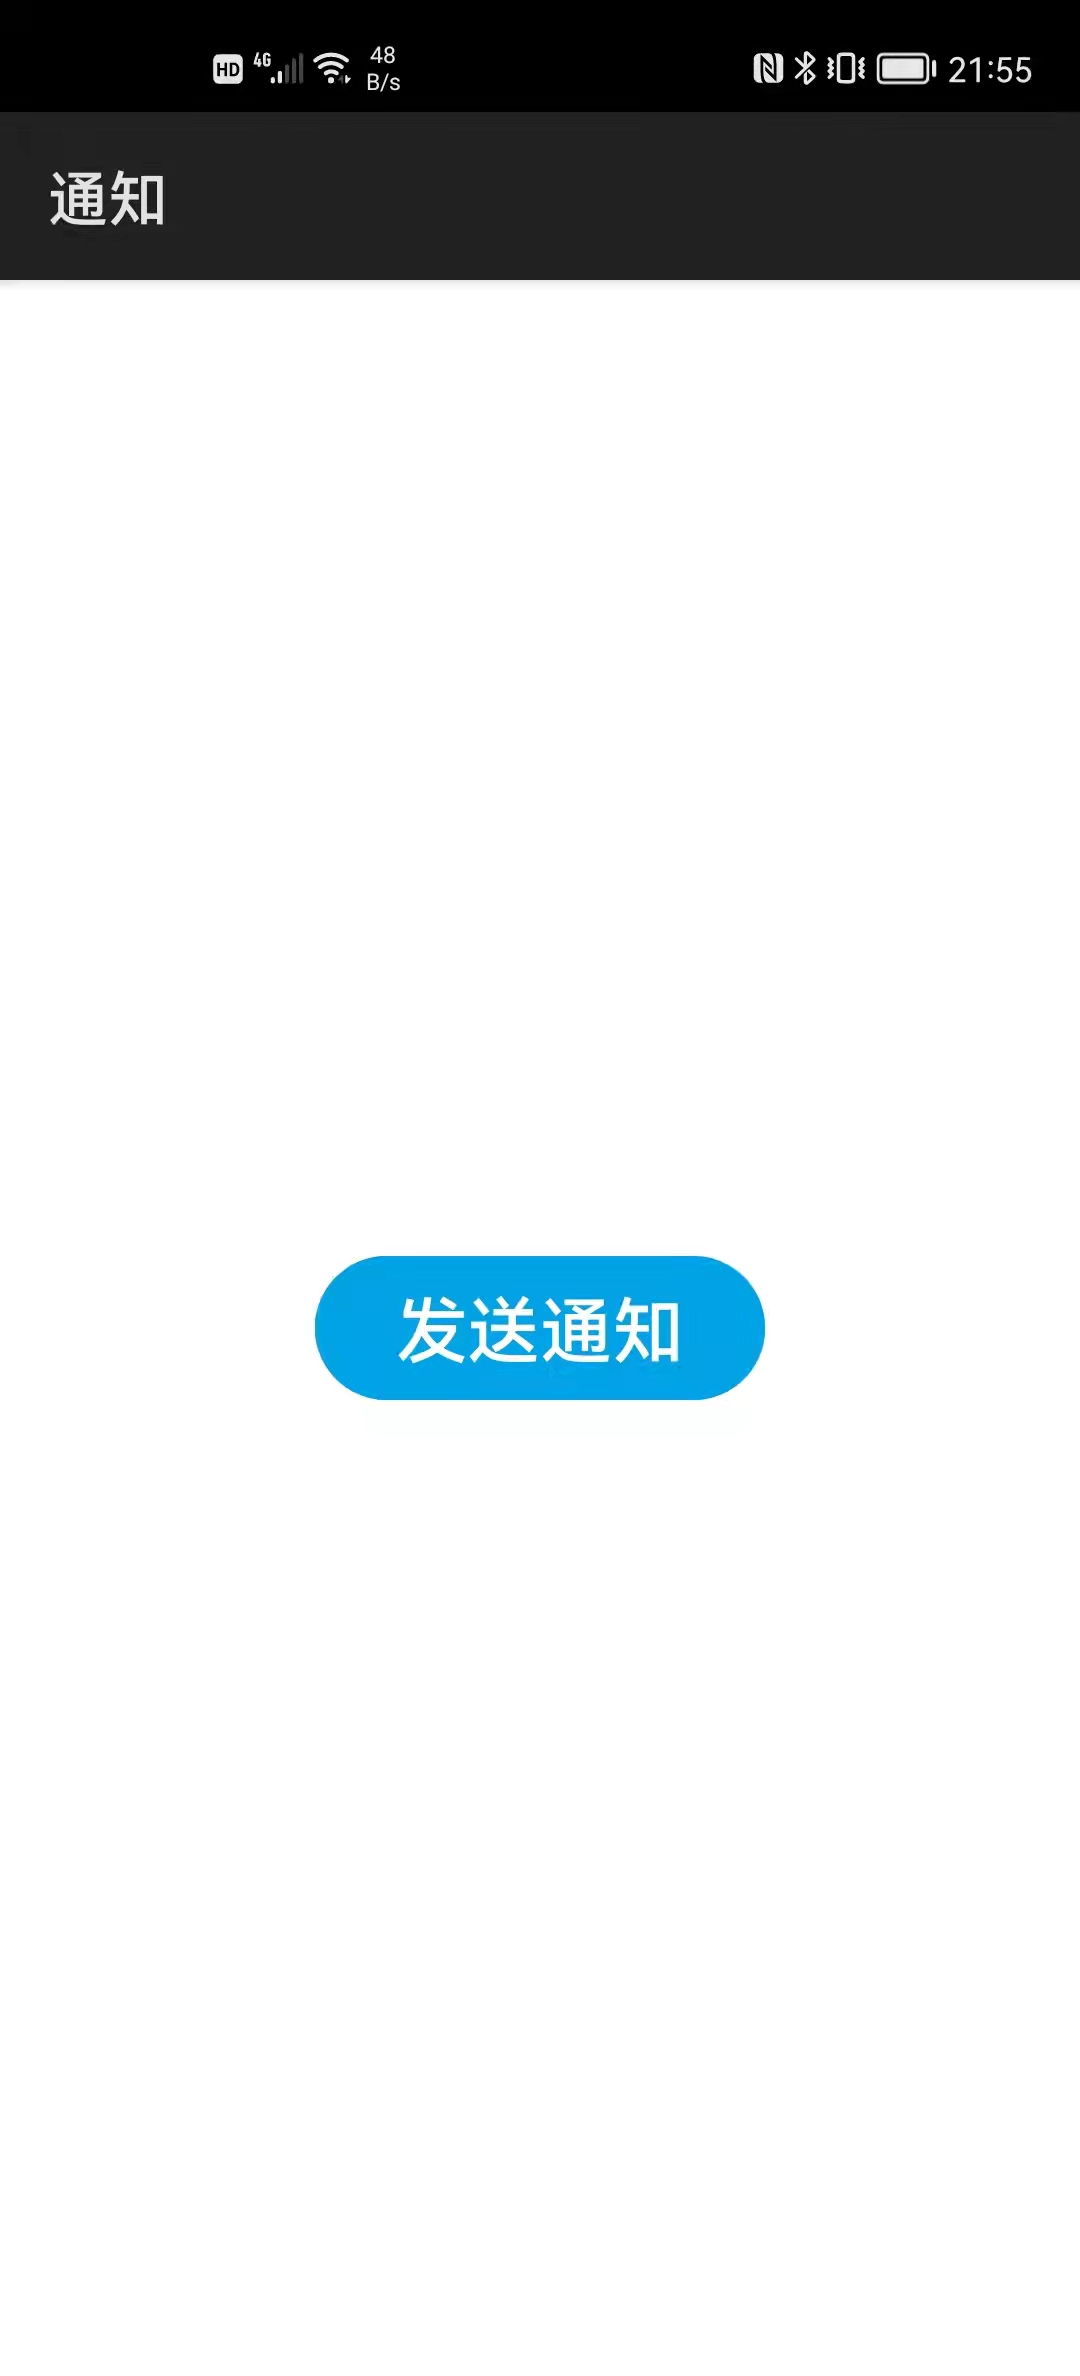
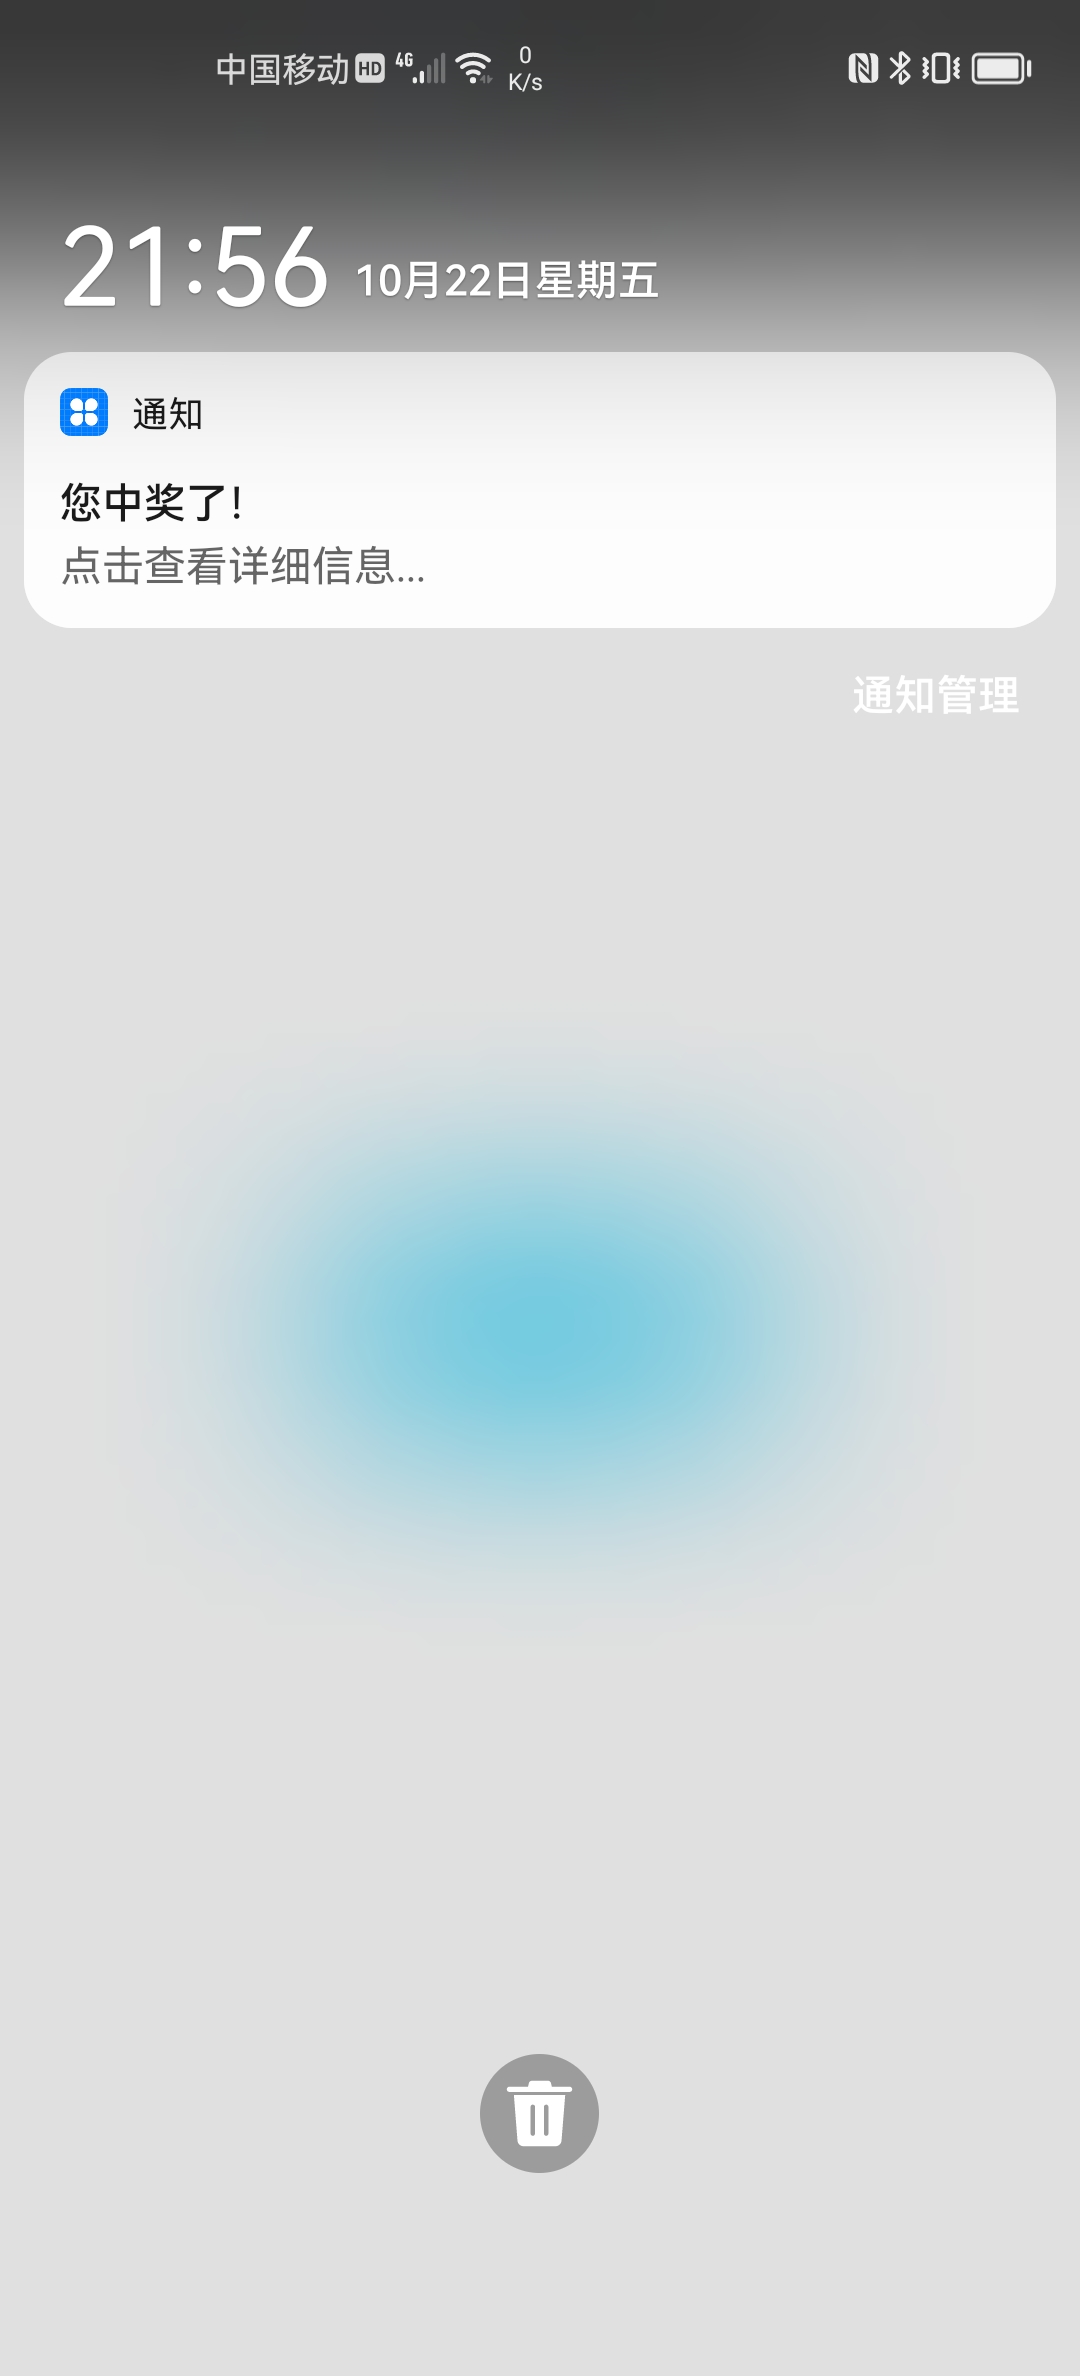
4.2 notification模块
import notification from '@system.notification';
notification.show({
    contentTitle: "您中奖了!",
    contentText: "点击查看详细信息...",
    clickAction: {
        bundleName: "com.minwei.notify",
        abilityName: "com.minwei.notify.MainAbility",
        uri: "pages/details/details"}});
例程:Notify
...\Notify\entry\src\main\js\default\pages\index\index.hml
<div class="div">
    <input class="btn" type="button" value="发送通知" @click="onClick" />
</div>
...\Notify\entry\src\main\js\default\pages\index\index.css
.div {
    flex-direction: column;
    justify-content: center;
    align-items: center;
}

.btn {
    width: 150px;
    height: 48px;
    font-size: 24px;
    background-color: #00a2e8;
    color: #ffffff
}
...\Notify\entry\src\main\js\default\pages\index\index.js
import notification from '@system.notification';

export default {
    onClick() {
        notification.show({
            contentTitle: "您中奖了!",
            contentText: "点击查看详细信息...",
            clickAction: {
                bundleName: "com.minwei.notify",
                abilityName: "com.minwei.notify.MainAbility",
                uri: "pages/details/details"}});
    }
}
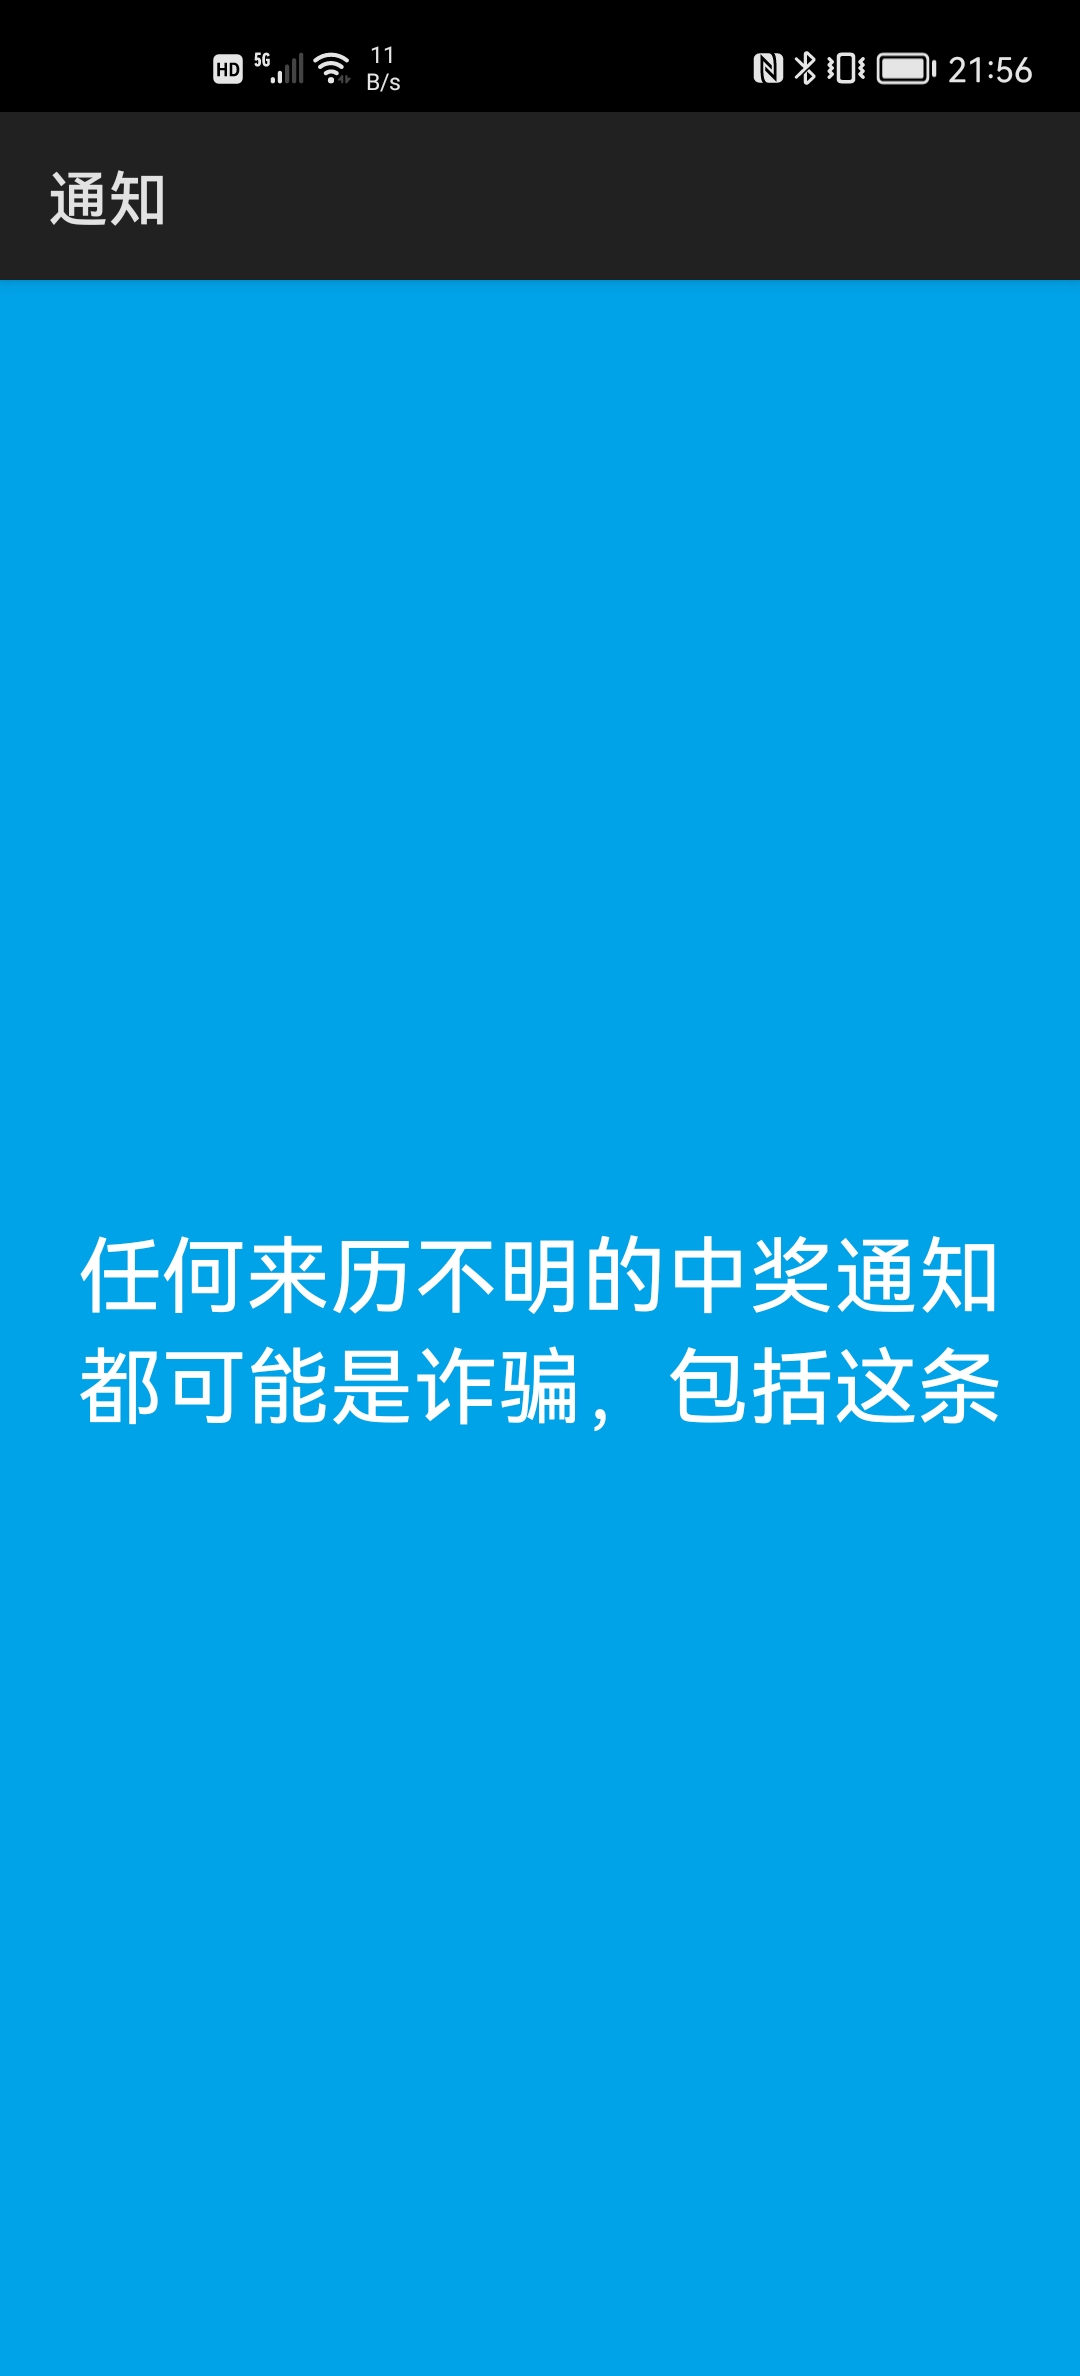
...\Notify\entry\src\main\js\default\pages\details\details.hml
<div class="div">
    <text class="txt">任何来历不明的中奖通知</text>
    <text class="txt">都可能是诈骗,包括这条</text>
</div>
...\Notify\entry\src\main\js\default\pages\details\details.css
.div {
    flex-direction: column;
    justify-content: center;
    align-items: center;
    background-color: #00a2e8;
}

.txt {
    font-size: 28px;
    color: #ffffff;
}
运行效果如下图所示:
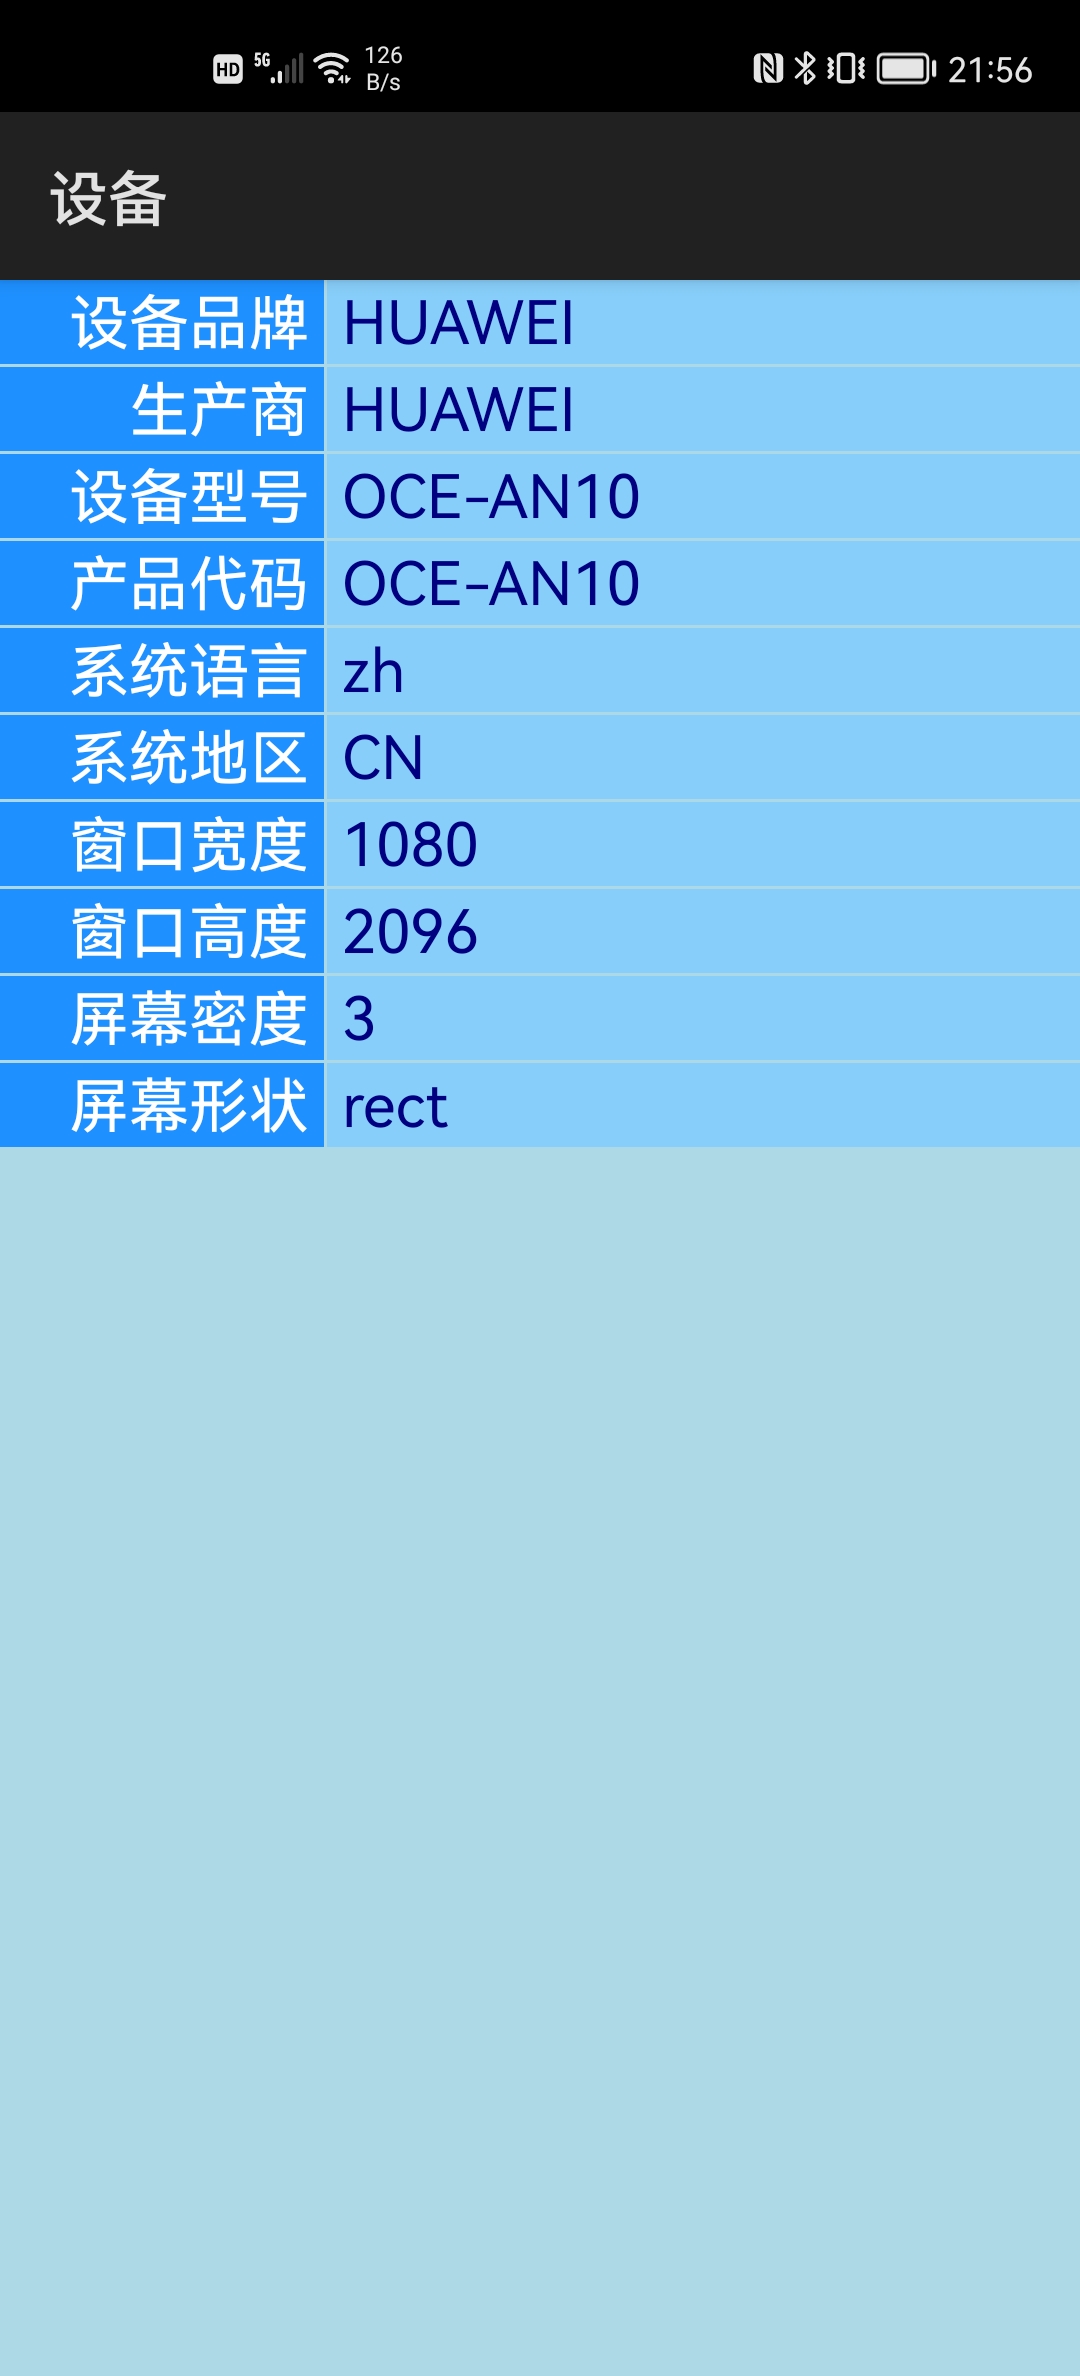
4.3 device模块
import device from '@system.device';
device.getInfo({
    success: function(info) {
        // 成功回调
        /*
           info.brand         - 设备品牌
           info.manufacturer  - 生产商
           info.model         - 设备型号
           info.product       - 产品代码
           info.language      - 系统语言
           info.region        - 系统地区
           info.windowWidth   - 窗口宽度
           info.windowHeight  - 窗口高度
           info.screenDensity - 屏幕密度
           info.screenShape   - 屏幕形状
        */
        ...
    },
    fail: function(desc, code) {
        // 失败回调
        /*
           desc - 错误描述
           code - 错误代码
        */
        ...
    },
    complete: function() {
        // 完成回调
        ...
    }});
例程;Device
...\Device\entry\src\main\js\default\pages\index\index.hml
<list class="lst">
    <list-item for="entry in entries">
        <div class="div">
            <text class="txtLabel">{{entry.label}}</text>
            <text class="txtValue">{{entry.value}}</text>
        </div>
    </list-item>
</list>
...\Device\entry\src\main\js\default\pages\index\index.css
.lst {
    background-color: lightblue;
}

.div {
    flex-direction: row;
}

.txtLabel {
    width: 30%;
    padding-right: 5px;
    padding-bottom: 2px;
    margin-bottom: 1px;
    text-align: right;
    font-size: 20px;
    background-color: dodgerblue;
    color: white;
}

.txtValue {
    width: 70%;
    padding-left: 5px;
    padding-bottom: 2px;
    margin-left: 1px;
    margin-bottom: 1px;
    font-size: 20px;
    background-color: lightskyblue;
    color: navy;
}
...\Device\entry\src\main\js\default\pages\index\index.js
import device from '@system.device';

export default {
    data: {
        entries: []
    },
    onShow() {
        if (this.entries.length == 0)
            device.getInfo({
                success: this.onSuccess,
                fail: this.onFail,
                complete: this.onComplete});
    },
    onSuccess(info) {
        this.entries.push(
            {label: "设备品牌", value: info.brand});
        this.entries.push(
            {label: "生产商", value: info.manufacturer});
        this.entries.push(
            {label: "设备型号", value: info.model});
        this.entries.push(
            {label: "产品代码", value: info.product});
        this.entries.push(
            {label: "系统语言", value: info.language});
        this.entries.push(
            {label: "系统地区", value: info.region});
        this.entries.push(
            {label: "窗口宽度", value: info.windowWidth});
        this.entries.push(
            {label: "窗口高度", value: info.windowHeight});
        this.entries.push(
            {label: "屏幕密度", value: info.screenDensity});
        this.entries.push(
            {label: "屏幕形状", value: info.screenShape});
    },
    onFail(desc, code) {
        this.entries.push(
            {label: "错误代码", value: code});
    },
    onComplete() {
    }
}
运行效果如下图所示:
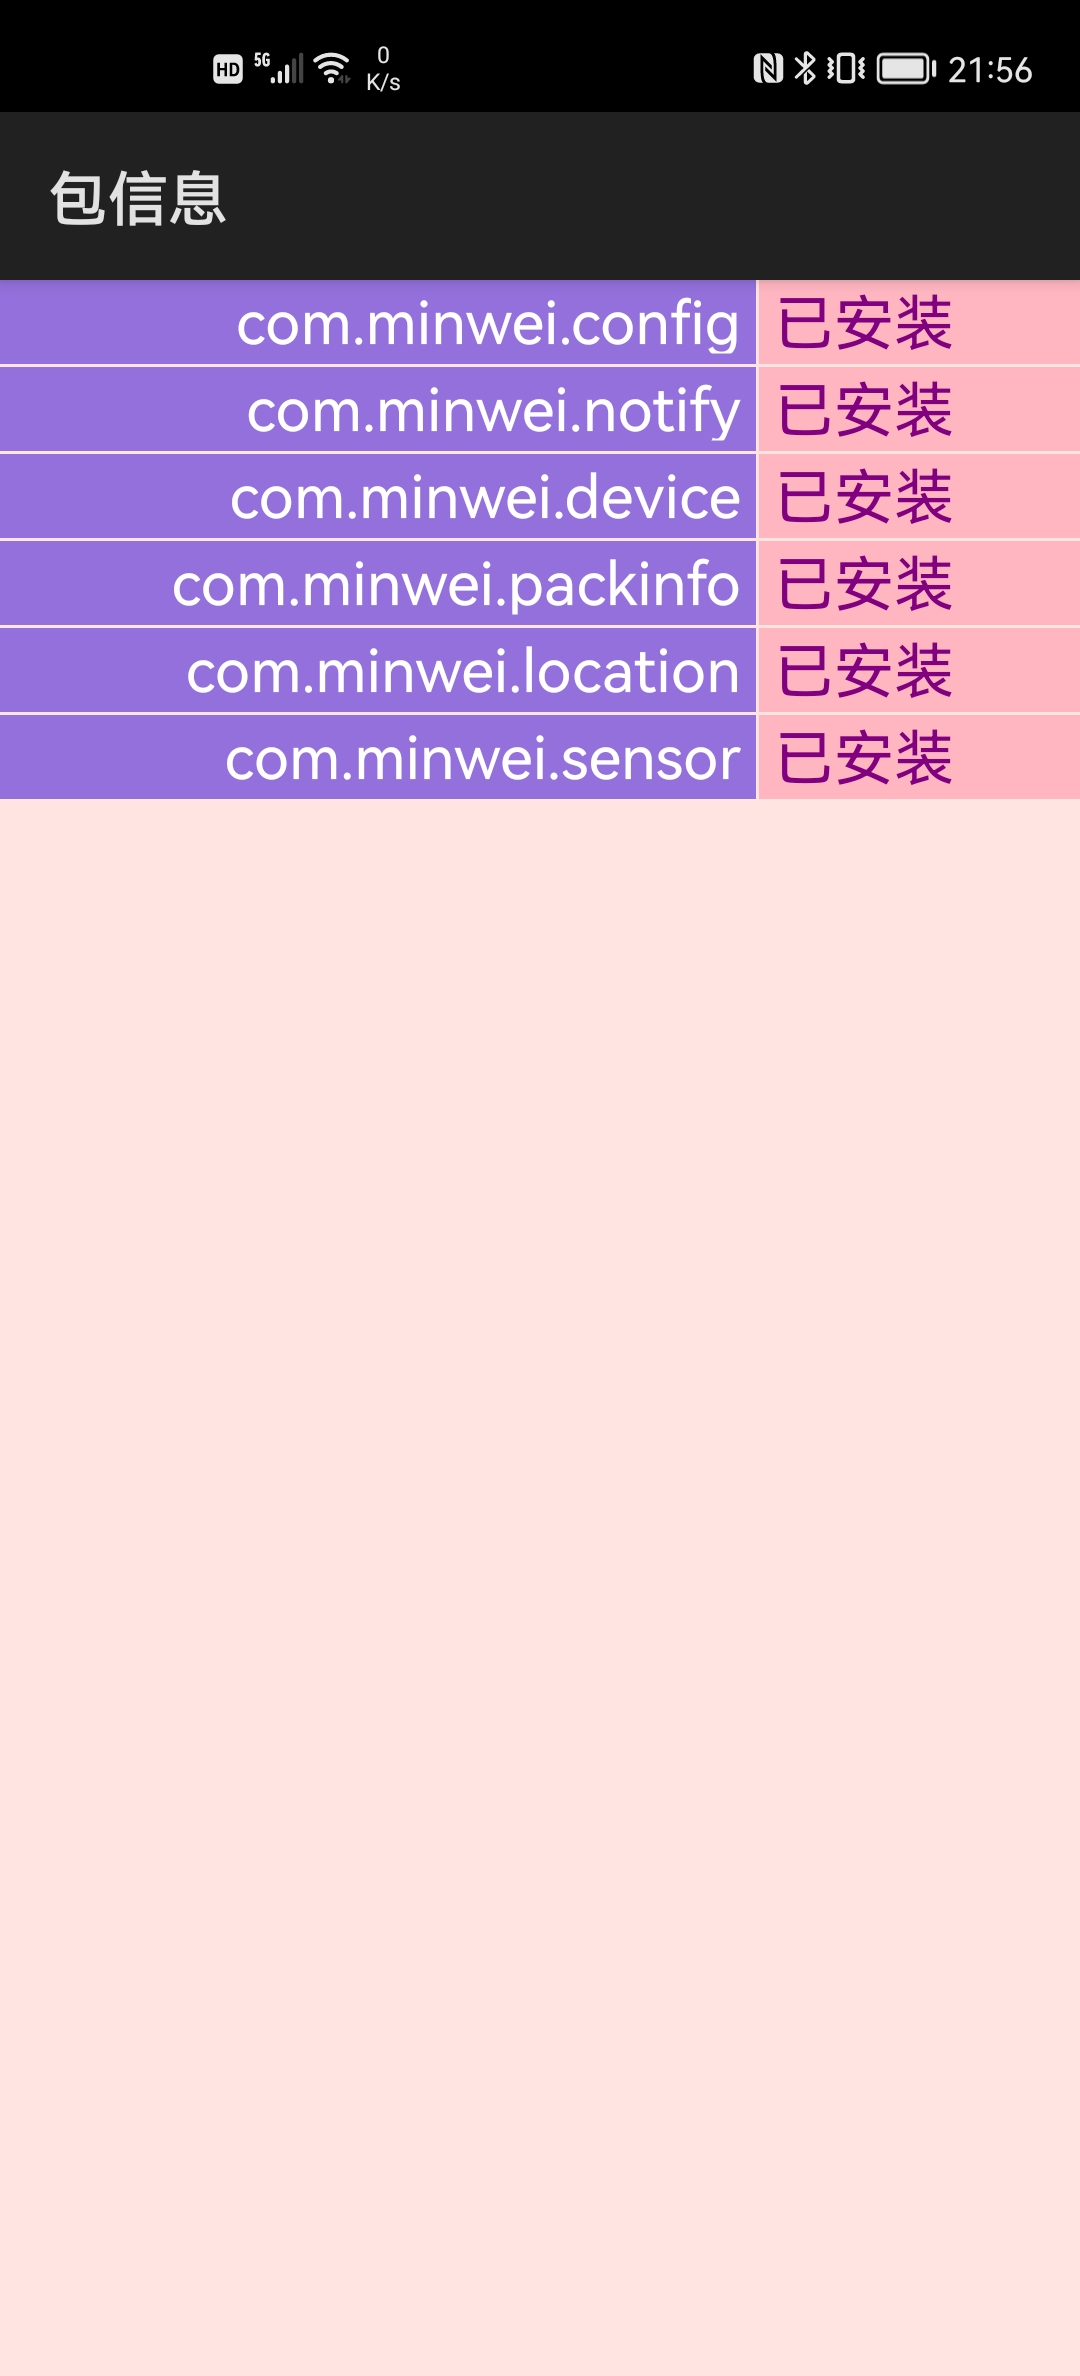
4.4 package模块
"reqPermissions": [
  {
    "name": "ohos.permission.GET_BUNDLE_INFO"
  }
]
import pkg from '@system.package';
pkg.hasInstalled({
    bundleName: "com.minwei.packinfo",
    success: function(installed) {
        // 成功回调
        /*
           installed: true  - 已安装
           installed: false - 未安装
        */
        ...
    },
    fail: function(desc, code) {
        // 失败回调
        /*
           desc - 错误描述
           code - 错误代码
        */
        ...
    },
    complete: function() {
        // 完成回调
        ...
    }});
例程:Package
...\PackInfo\entry\src\main\config.json
{
  ...
  "module": {
    ...
    "reqPermissions": [
      {
        "name": "ohos.permission.GET_BUNDLE_INFO"
      }
    ]
  }
}
...\PackInfo\entry\src\main\js\default\pages\index\index.hml
<list class="lst">
    <list-item for="entry in entries">
        <div class="div">
            <text class="txtLabel">{{entry.label}}</text>
            <text class="txtValue">{{entry.value}}</text>
        </div>
    </list-item>
</list>
...\PackInfo\entry\src\main\js\default\pages\index\index.css
.lst {
    background-color: mistyrose;
}

.div {
    flex-direction: row;
}

.txtLabel {
    width: 70%;
    padding-right: 5px;
    padding-bottom: 2px;
    margin-bottom: 1px;
    text-align: right;
    font-size: 20px;
    background-color: mediumpurple;
    color: white;
}

.txtValue {
    width: 30%;
    padding-left: 5px;
    padding-bottom: 2px;
    margin-left: 1px;
    margin-bottom: 1px;
    font-size: 20px;
    background-color: lightpink;
    color: purple;
}
...\PackInfo\entry\src\main\js\default\pages\index\index.js
import pkg from '@system.package';

export default {
    data: {
        entries: [
            {label: "com.minwei.config",   value: ""},
            {label: "com.minwei.notify",   value: ""},
            {label: "com.minwei.device",   value: ""},
            {label: "com.minwei.packinfo", value: ""},
            {label: "com.minwei.location", value: ""},
            {label: "com.minwei.sensor",   value: ""}],
        index: 0
    },
    onInit() {
        pkg.hasInstalled({
            bundleName: this.entries[this.index].label,
            success: this.onSuccess,
            fail: this.onFail,
            complete: this.onComplete});
    },
    onSuccess(installed) {
        this.entries[this.index].value = installed ? "已安装" : "未安装";
    },
    onFail(desc, code) {
        this.entries[this.index].value = "ERROR-" + code;
    },
    onComplete() {
        ++this.index;

        if (this.index < this.entries.length)
            pkg.hasInstalled({
                bundleName: this.entries[this.index].label,
                success: this.onSuccess,
                fail: this.onFail,
                complete: this.onComplete});
    }
}
运行效果如下图所示:
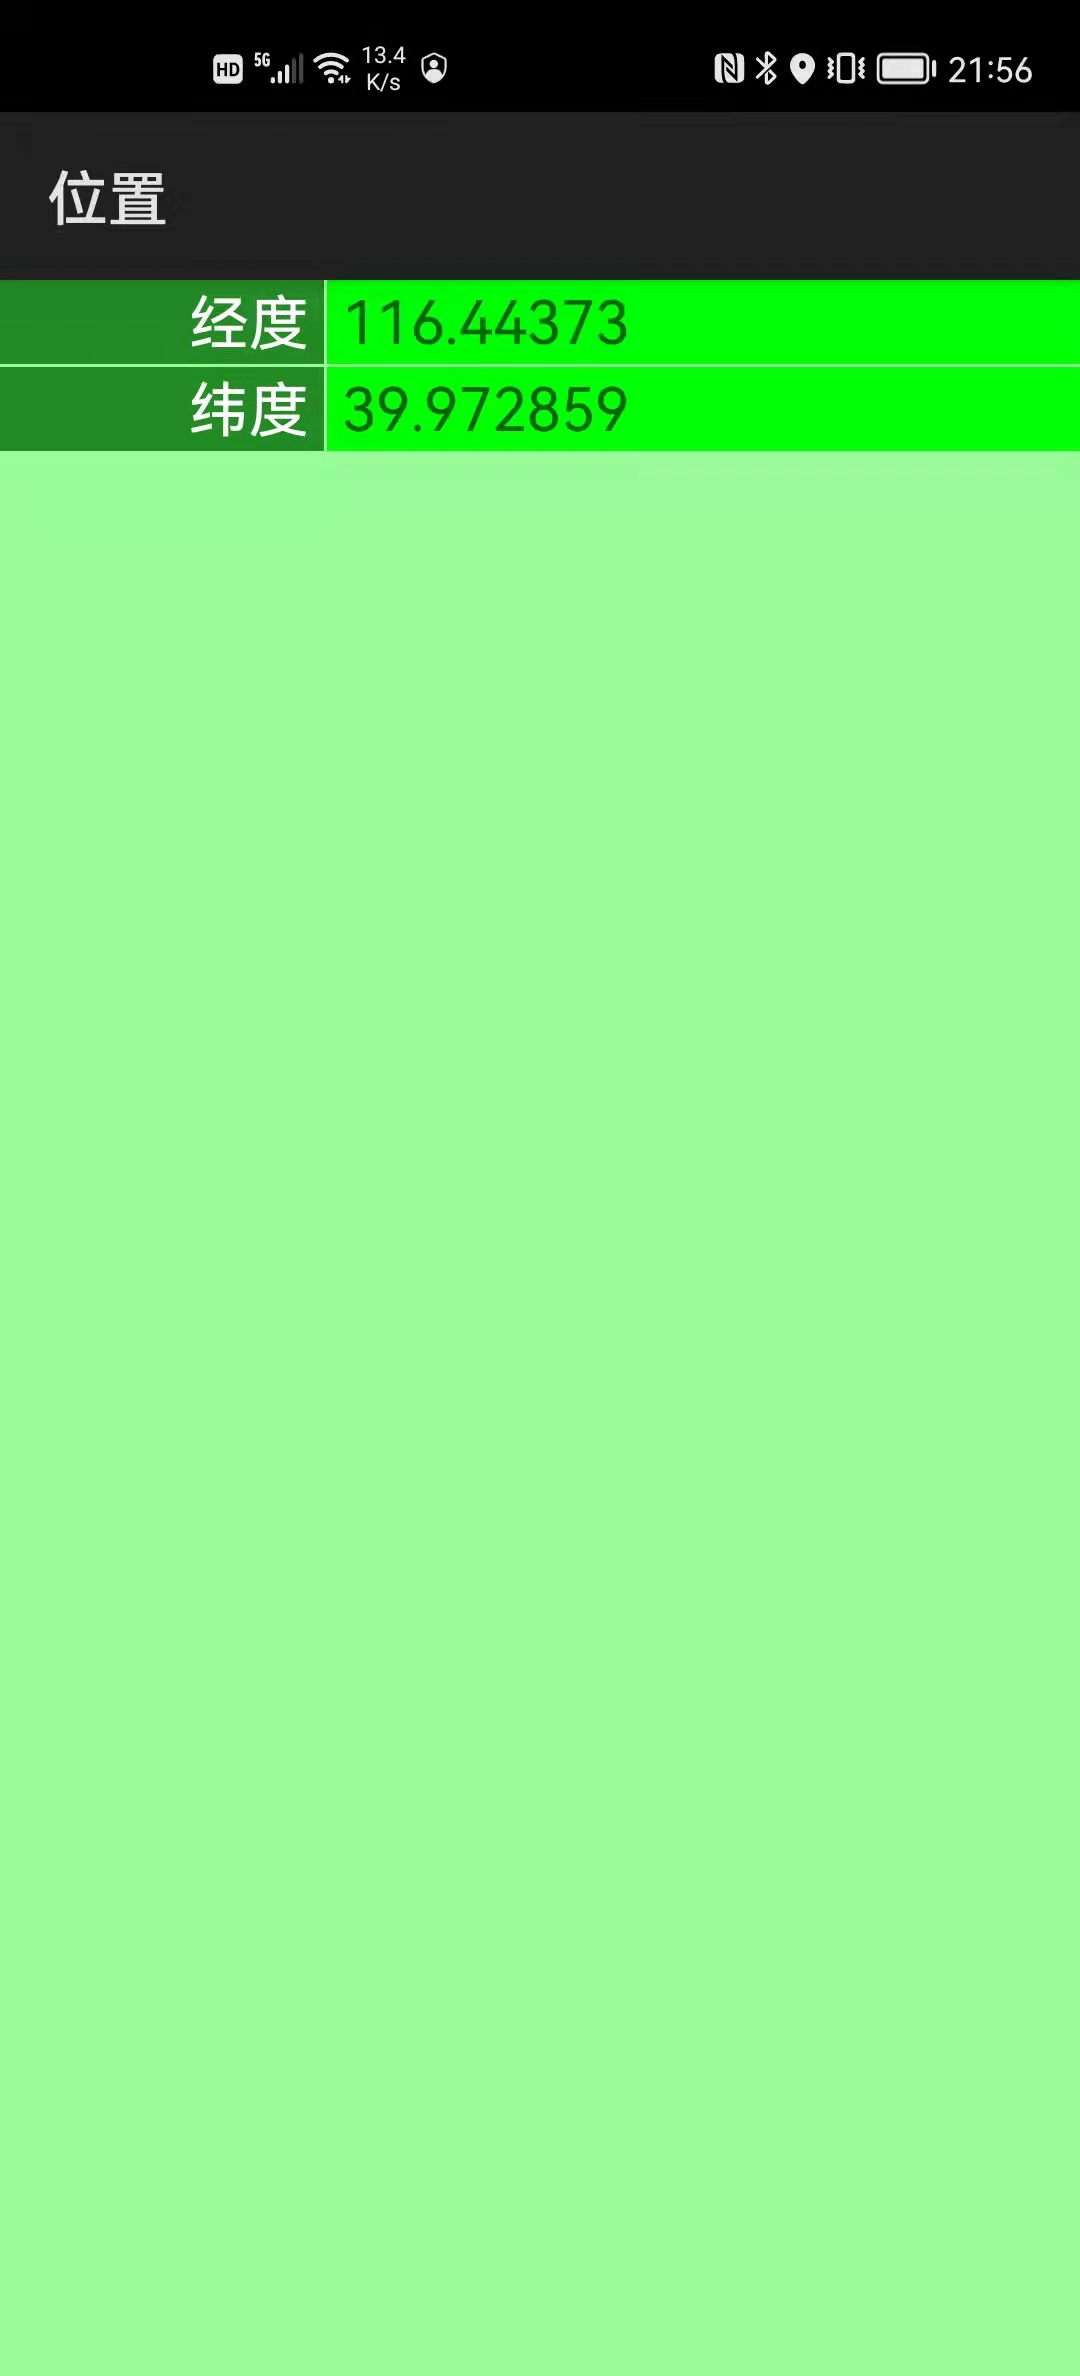
4.5 geolocation模块
"reqPermissions": [
  {
    "name": "ohos.permission.LOCATION"
  }
]
import geolocation from '@system.geolocation';
geolocation.subscribe({
    success: function(location) {
        // 成功回调
        /*
           location.longitude - 经度
           location.latitude  - 纬度
        */
        ...
    },
    fail: function(desc, code) {
        // 失败回调
        /*
           desc - 错误描述
           code - 错误代码
        */
        ...
    }});
geolocation.unsubscribe();
例程:Location
...\Location\entry\src\main\config.json
{
  ...
  "module": {
    ...
    "reqPermissions": [
      {
        "name": "ohos.permission.LOCATION"
      }
    ]
  }
}
...\Location\entry\src\main\js\default\pages\index\index.hml
<list class="lst">
    <list-item for="entry in entries">
        <div class="div">
            <text class="txtLabel">{{entry.label}}</text>
            <text class="txtValue">{{entry.value}}</text>
        </div>
    </list-item>
</list>
...\Location\entry\src\main\js\default\pages\index\index.css
.lst {
    background-color: palegreen;
}

.div {
    flex-direction: row;
}

.txtLabel {
    width: 30%;
    padding-right: 5px;
    padding-bottom: 2px;
    margin-bottom: 1px;
    text-align: right;
    font-size: 20px;
    background-color: forestgreen;
    color: white;
}

.txtValue {
    width: 70%;
    padding-left: 5px;
    padding-bottom: 2px;
    margin-left: 1px;
    margin-bottom: 1px;
    font-size: 20px;
    background-color: lime;
    color: darkgreen;
}
...\Location\entry\src\main\js\default\pages\index\index.js
import geolocation from '@system.geolocation';

export default {
    data: {
        entries: [
            {label: "经度", value: ""},
            {label: "纬度", value: ""}]
    },
    onInit() {
        geolocation.subscribe({
            success: this.onSuccess,
            fail: this.onFail});
    },
    onSuccess(location) {
        this.entries[0].value = location.longitude;
        this.entries[1].value = location.latitude;
    },
    onFail(desc, code) {
        this.entries[0].value = "ERROR-" + code;
        this.entries[1].value = "ERROR-" + code;
    },
    onDestroy() {
        geolocation.unsubscribe();
    }
}
运行效果如下图所示:
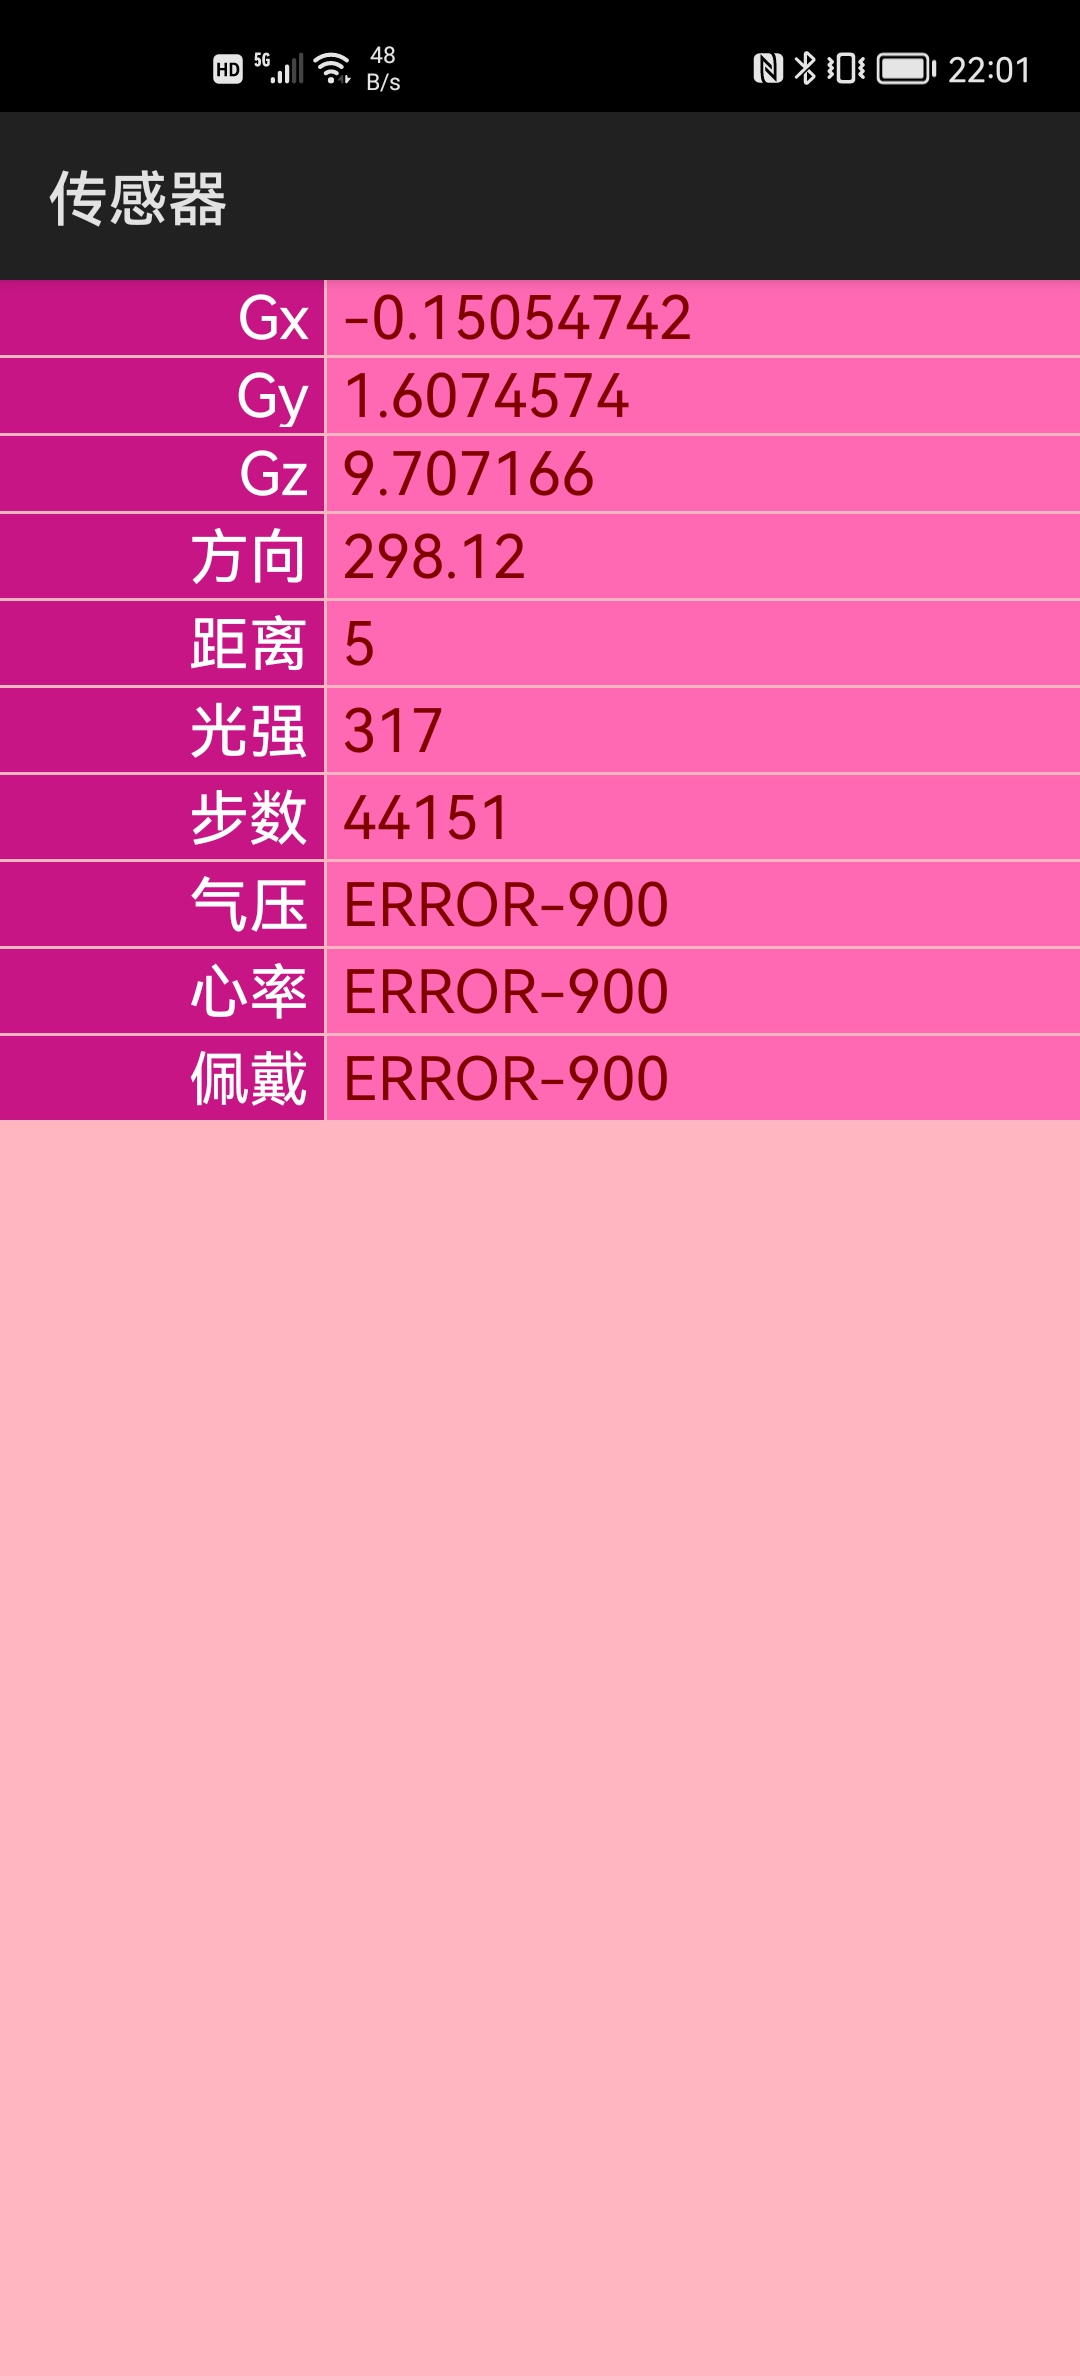
4.6 sensor模块
import sensor from '@system.sensor';
sensor.subscribeXXX({
    success: function(data) {
        // 成功回调
        ...
    },
    fail: function(desc, code) {
        // 失败回调
        /*
           desc - 错误描述
           code - 错误代码
        */
        ...
    }});
sensor.unsubscribeXXX();
| 传感器 | 描述 | 手机 | 手表 | 权限 |
|---|---|---|---|---|
| Accelerometer | 重力加速度 | 支持 | 支持 | ohos.permission.ACCELEROMETER |
| Compass | 方向 | 支持 | 支持 | |
| Proximity | 距离 | 支持 | 支持 | |
| Light | 光强 | 支持 | 支持 | |
| StepCounter | 步数 | 支持 | 支持 | ohos.permission.ACTIVITY_MOTION |
| Barometer | 气压 | 不支持 | 支持 | |
| HeartRate | 心率 | 不支持 | 支持 | ohos.permission.READ_HEALTH_DATA |
| OnBodyState | 佩戴状态 | 不支持 | 支持 |
例程:Sensor
...\Sensor\entry\src\main\config.json
{
  ...
  "module": {
    ...
    "reqPermissions": [
      {
        "name": "ohos.permission.ACCELEROMETER"
      },
      {
        "name": "ohos.permission.ACTIVITY_MOTION"
      },
      {
        "name": "ohos.permission.READ_HEALTH_DATA"
      }
    ]
  }
}
...\Sensor\entry\src\main\js\default\pages\index\index.hml
<list class="lst">
    <list-item for="entry in entries">
        <div class="div">
            <text class="txtLabel">{{entry.label}}</text>
            <text class="txtValue">{{entry.value}}</text>
        </div>
    </list-item>
</list>
...\Sensor\entry\src\main\js\default\pages\index\index.css
.lst {
    background-color: lightpink;
}

.div {
    flex-direction: row;
}

.txtLabel {
    width: 30%;
    padding-right: 5px;
    padding-bottom: 2px;
    margin-bottom: 1px;
    text-align: right;
    font-size: 20px;
    background-color: mediumvioletred;
    color: white;
}

.txtValue {
    width: 70%;
    padding-left: 5px;
    padding-bottom: 2px;
    margin-left: 1px;
    margin-bottom: 1px;
    font-size: 20px;
    background-color: hotpink;
    color: maroon;
}
...\Sensor\entry\src\main\js\default\pages\index\index.js
import sensor from '@system.sensor';

export default {
    data: {
        entries: [
            {label: "Gx", value: ""},
            {label: "Gy", value: ""},
            {label: "Gz", value: ""},
            {label: "方向", value: ""},
            {label: "距离", value: ""},
            {label: "光强", value: ""},
            {label: "步数", value: ""},
            {label: "气压", value: ""},
            {label: "心率", value: ""},
            {label: "佩戴", value: ""}]
    },
    onInit() {
        sensor.subscribeAccelerometer({
            interval: "ui",
            success: this.onAccelerometerSuccess,
            fail: this.onAccelerometerFail});

        sensor.subscribeCompass({
            success: this.onCompassSuccess,
            fail: this.onCompassFail});

        sensor.subscribeProximity({
            success: this.onProximitySuccess,
            fail: this.onProximityFail});

        sensor.subscribeLight({
            success: this.onLightSuccess,
            fail: this.onLightFail});

        sensor.subscribeStepCounter({
            success: this.onStepCounterSuccess,
            fail: this.onStepCounterFail});

        sensor.subscribeBarometer({
            success: this.onBarometerSuccess,
            fail: this.onBarometerFail});

        sensor.subscribeHeartRate({
            success: this.onHeartRateSuccess,
            fail: this.onHeartRateFail});

        sensor.subscribeOnBodyState({
            success: this.onOnBodyStateSuccess,
            fail: this.onOnBodyStateFail});
    },
    onAccelerometerSuccess(data) {
        this.entries[0].value = data.x;
        this.entries[1].value = data.y;
        this.entries[2].value = data.z;
    },
    onAccelerometerFail(desc, code) {
        this.entries[0].value = "ERROR-" + code;
        this.entries[1].value = "ERROR-" + code;
        this.entries[2].value = "ERROR-" + code;
    },
    onCompassSuccess(data) {
        this.entries[3].value = data.direction;
    },
    onCompassFail(desc, code) {
        this.entries[3].value = "ERROR-" + code;
    },
    onProximitySuccess(data) {
        this.entries[4].value = data.distance;
    },
    onProximityFail(desc, code) {
        this.entries[4].value = "ERROR-" + code;
    },
    onLightSuccess(data) {
        this.entries[5].value = data.intensity;
    },
    onLightFail(desc, code) {
        this.entries[5].value = "ERROR-" + code;
    },
    onStepCounterSuccess(data) {
        this.entries[6].value = data.steps;
    },
    onStepCounterFail(desc, code) {
        this.entries[6].value = "ERROR-" + code;
    },
    onBarometerSuccess(data) {
        this.entries[7].value = data.pressure;
    },
    onBarometerFail(desc, code) {
        this.entries[7].value = "ERROR-" + code;
    },
    onHeartRateSuccess(data) {
        this.entries[8].value = data.heartRate;
    },
    onHeartRateFail(desc, code) {
        this.entries[8].value = "ERROR-" + code;
    },
    onOnBodyStateSuccess(data) {
        this.entries[9].value = data.value ? "是" : "否";
    },
    onOnBodyStateFail(desc, code) {
        this.entries[9].value = "ERROR-" + code;
    },
    onDestroy() {
        sensor.unsubscribeAccelerometer();
        sensor.unsubscribeCompass();
        sensor.unsubscribeProximity();
        sensor.unsubscribeLight();
        sensor.unsubscribeStepCounter();
        sensor.unsubscribeBarometer();
        sensor.unsubscribeHeartRate();
        sensor.unsubscribeOnBodyState();
    }
}
运行效果如下图所示: